Picture this: It’s July, the sun is blazing, and you walk into your metal-roofed barn only to feel like you’ve stepped into an oven. Or it’s winter, and despite cranking up the heat, your home feels like an icebox. The culprit? Poor insulation beneath that beautiful metal roof.
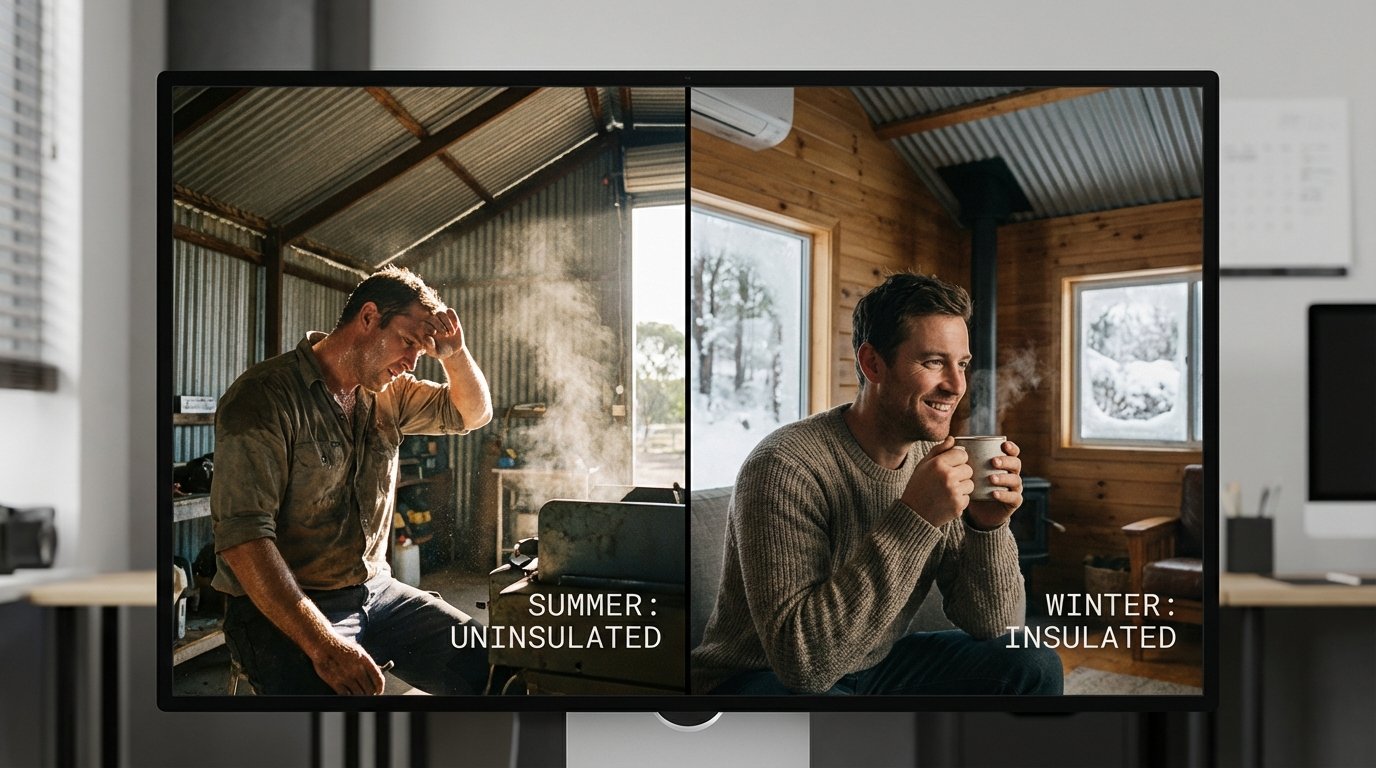
Metal roofs are legendary for their durability, they can last 50+ years, resist fire, and look stunning. But metal is an excellent conductor, transferring heat and cold with ruthless efficiency. Without proper insulation, your metal roof becomes a thermal liability costing you money every month.
The right metal roof insulation transforms your roof from an energy-wasting liability into a high-performance shield that keeps you comfortable year-round, slashes energy bills, and silences that notorious rain drumming sound.
This guide covers everything about insulating under a metal roof, from choosing materials to understanding why 1 inch foam insulation under metal roof panels might be perfect for your project.
Why Metal Roof Insulation is Critical
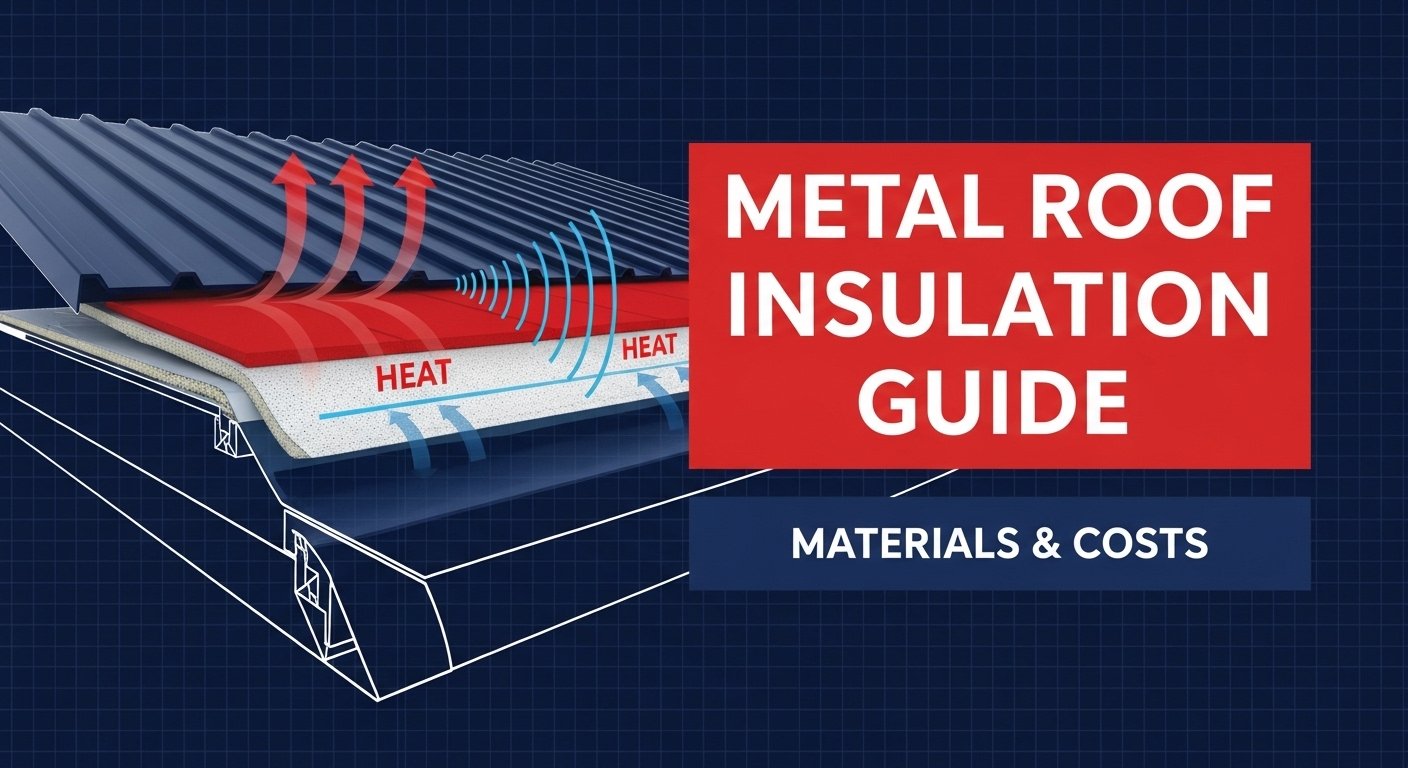
Temperature Control and Energy Savings
Steel and aluminum have thermal conductivity rates 400-1800 times higher than wood. In summer, your metal roof can reach 180°F, radiating heat directly into your living space. In winter, heat escapes just as quickly.
Steel roof insulation reduces heating and cooling costs by 30-50%. For a 2,000 square foot home, that’s $400-800 in annual savings. The insulation pays for itself in 3-5 years. If you’re considering a metal roofing installation for your home, pairing it with proper insulation from the start is the smartest investment you can make.
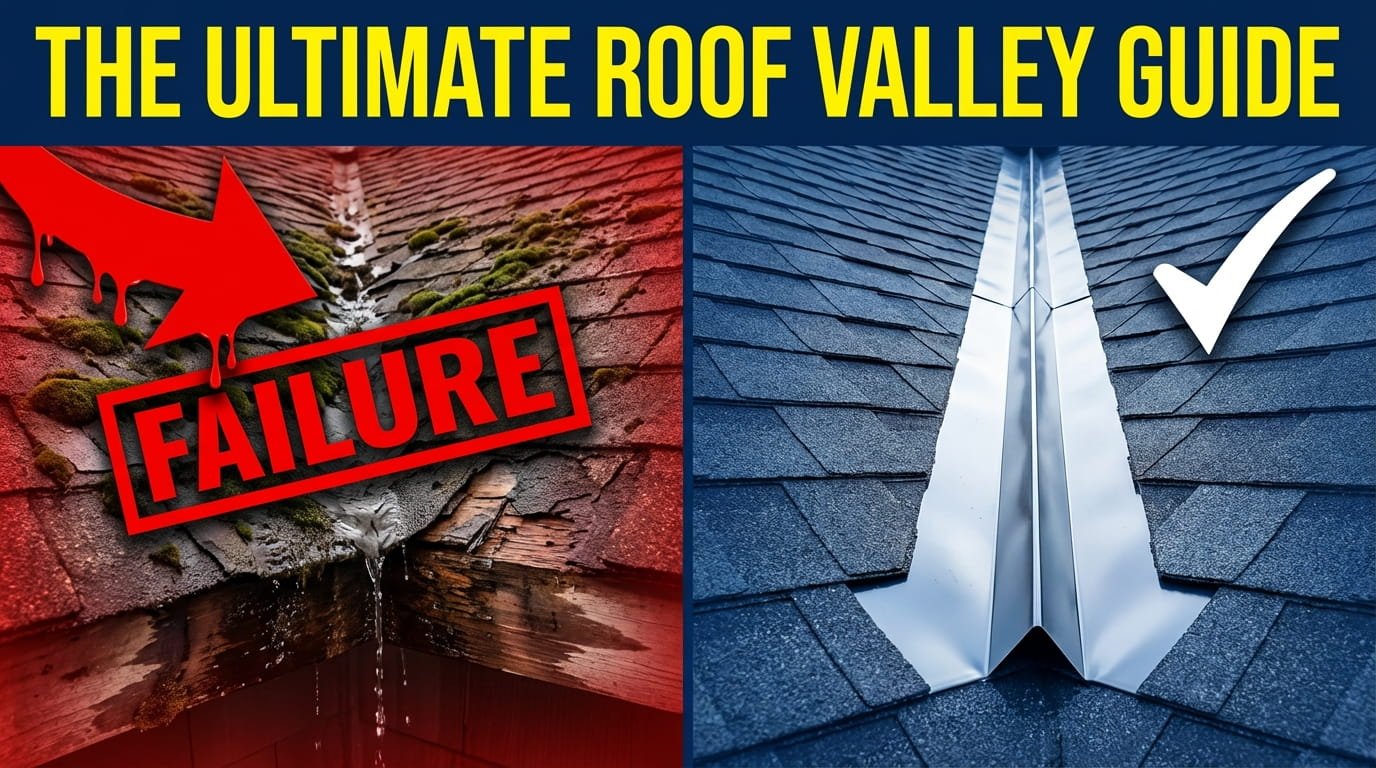
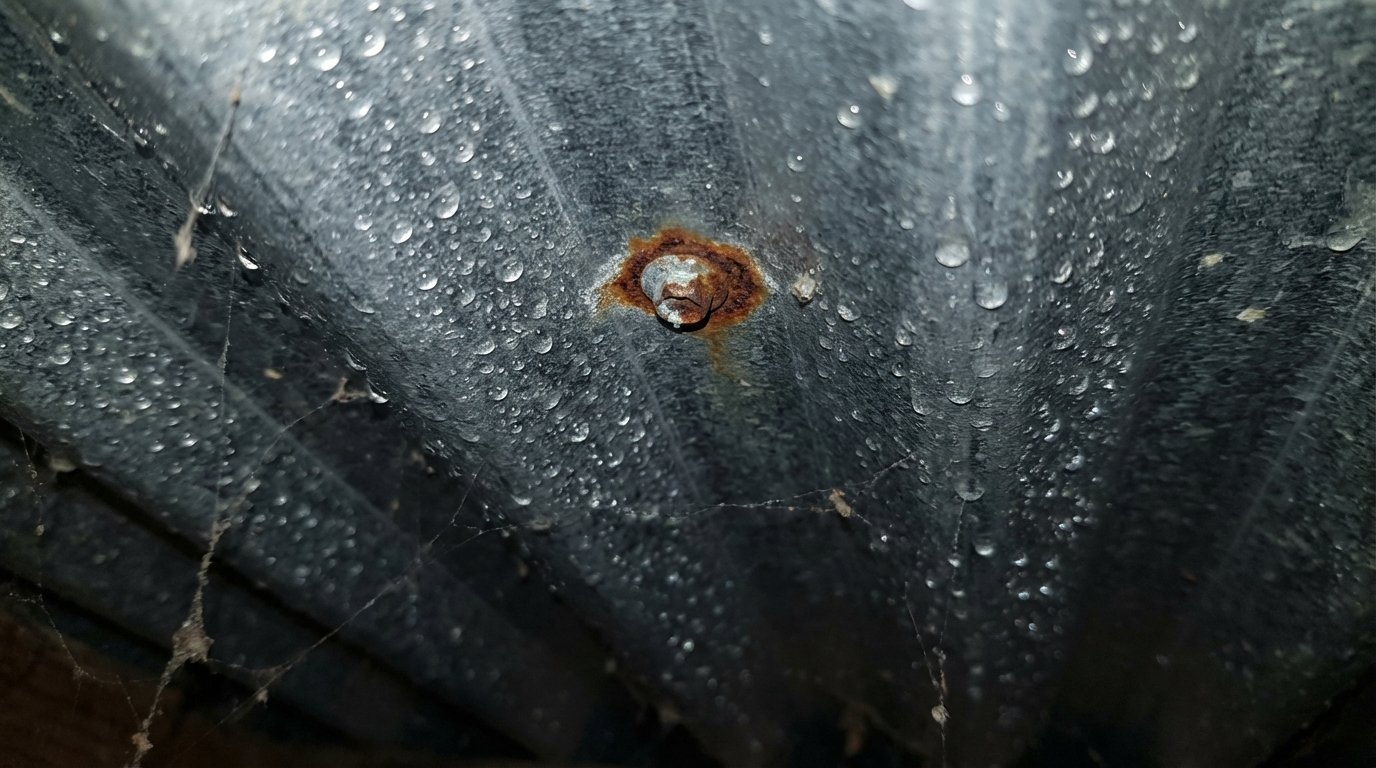
Condensation Prevention
During cold weather, warm moist air hits the cold metal roof and condenses, sometimes dripping inside your attic. This causes:
- Rust on fasteners and metal components (voiding warranties)
- Rot in wood framing and roof decking
- Mold growth affecting air quality
- Degraded insulation performance
Proper insulation creates a thermal barrier preventing condensation formation. A professional roofing inspection can identify existing condensation issues before you begin insulating.
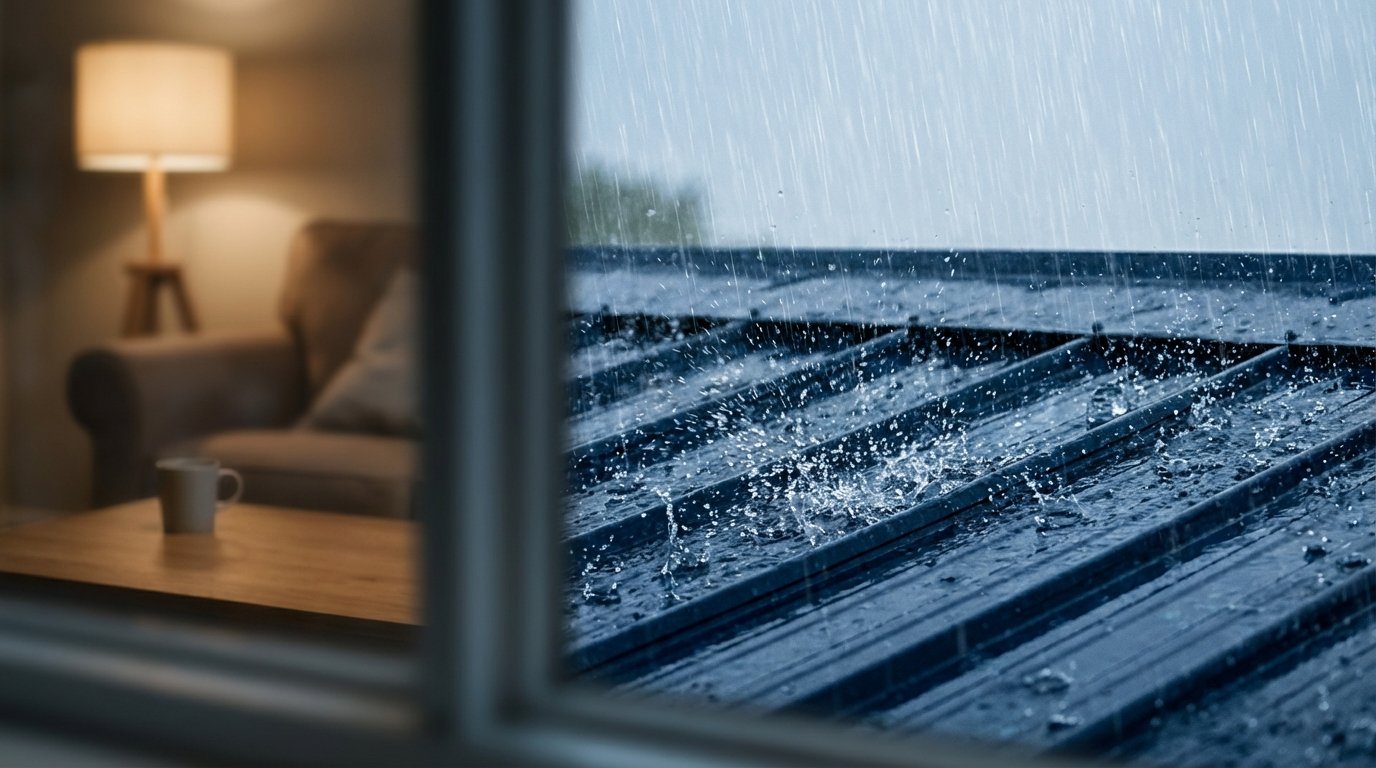
Noise Reduction
Metal roofs amplify every raindrop and hailstone. Metal roof insulation acts as a sound dampener, dense materials like fiberglass or open-cell spray foam absorb sound waves, dramatically reducing noise transmission.
Best Insulation Materials for Metal Roofs
Fiberglass Batts: Budget-Friendly Classic
R-Value: R-3.2 to R-4.3 per inch (typical batts R-13 to R-38)
Cost: $0.50 – $1.00 per square foot
Pros:
- Extremely affordable and widely available
- DIY-friendly installation
- Good sound absorption
- Fire-resistant
Cons:
- Requires vapor barrier in humid climates
- Can settle over time
- Gaps create thermal bridges
Best for: Residential attics with standard framing where budget is primary concern. Works well when insulating under a metal roof from the attic side.
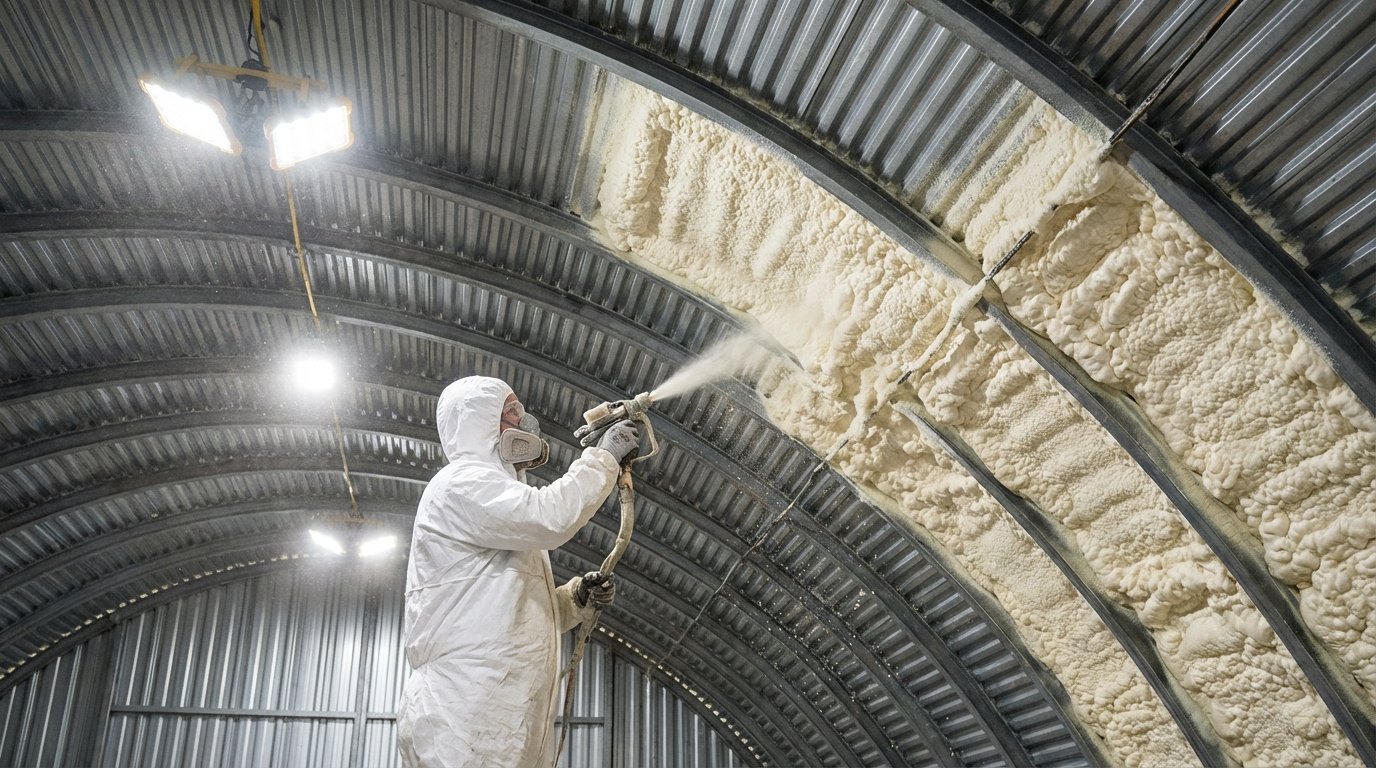
Spray Foam Insulation: High-Performance Seal
Closed-Cell Spray Foam
R-Value: R-6 to R-7 per inch
Cost: $3.50 – $5.00+ per square foot
Pros:
- Highest R-value per inch
- Acts as vapor barrier
- Complete air sealing
- Perfect for metal roofing on curved roof structures, conforms to any shape
- Adds structural rigidity
Cons:
- Expensive upfront
- Requires professional installation
- Off-gassing during installation
Best for: High-end residential, metal roofing on curved roof buildings (Quonset huts, arched barns), maximum R-value needs.
Open-Cell Spray Foam
R-Value: R-3.5 to R-3.8 per inch
Cost: $2.00 – $3.50 per square foot
Best for: Noise reduction priority, more affordable than closed-cell while still providing excellent sound control.
Why Spray Foam Dominates Curved Roofs
For metal roofing on curved roof structures, closed-cell spray foam is often your only practical option. Rigid boards would leave gaps, and fiberglass can’t conform to curves. Spray foam expands into every crevice, creating a seamless envelope.
Rigid Foam Board: The Retrofit Champion
The 1 Inch Foam Insulation Option
1 inch foam insulation under metal roof is popular because it delivers meaningful benefits without major structural modifications.
Types of Rigid Foam:
Polyisocyanurate (Polyiso):
- R-6 per inch
- Foil-faced versions act as radiant barriers
- Cost: $1.50 – $2.50/sq ft
Extruded Polystyrene (XPS):
- R-5 per inch
- Moisture-resistant
- Cost: $1.25 – $2.00/sq ft
Expanded Polystyrene (EPS):
- R-4 per inch
- Budget-conscious option
- Cost: $0.75 – $1.50/sq ft
Why 1 inch is popular:
- Provides R-5 to R-6 improvement
- Affordable for retrofits
- Combines with existing insulation
- Eliminates thermal bridging
Real-World Example: A homeowner with R-19 attic insulation adds 1 inch foam insulation under metal roof panels during re-roofing. Total R-value becomes R-24 to R-25, plus eliminates thermal bridging, delivering energy savings equivalent to R-30+.
Radiant Barriers: Metal Building Solution
R-Value: R-1 to R-1.7 (reflects up to 97% radiant heat)
Cost: $0.40 – $0.80 per square foot
Best for: Pole barns, workshops in hot climates where summer heat gain is the primary concern. Often used in combination with other insulation.
How to Insulate Under a Metal Roof
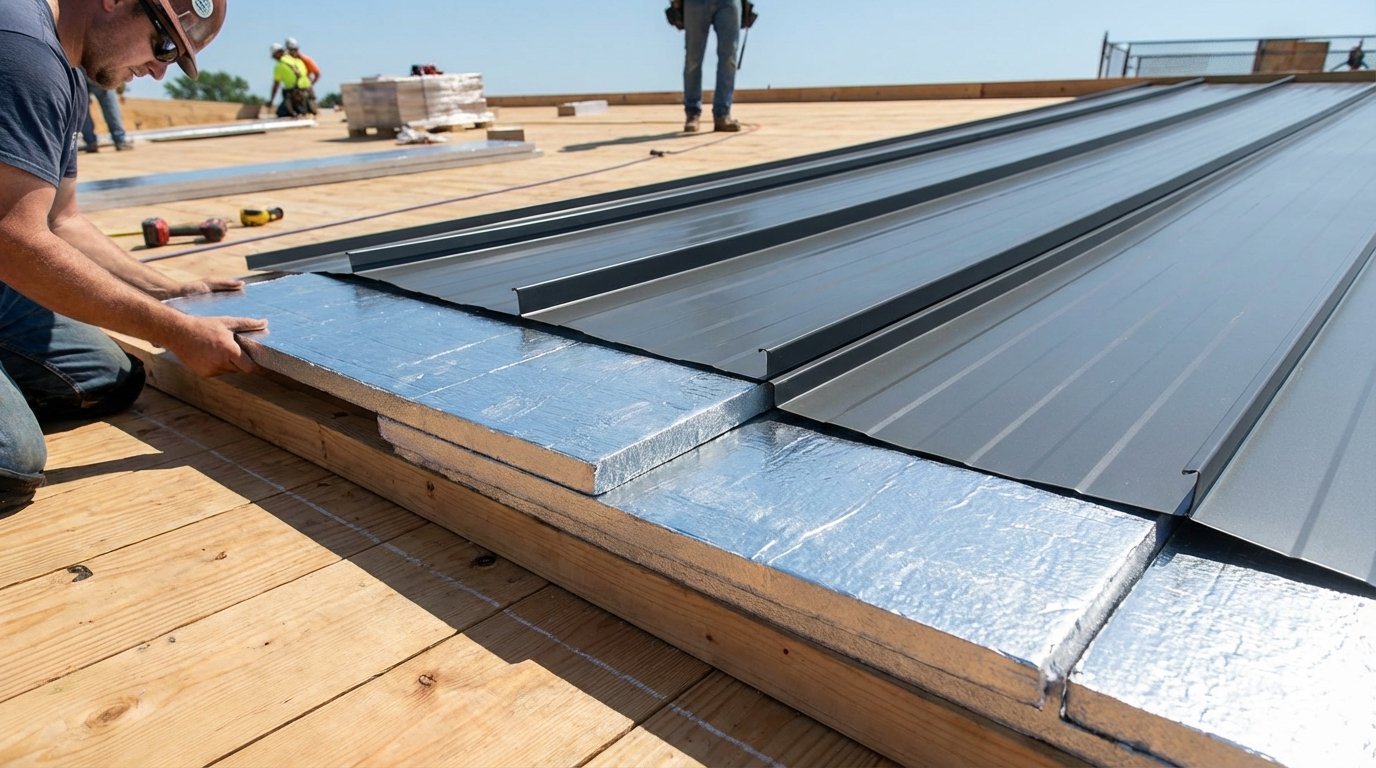
Scenario 1: New Construction (Above-Deck)
The gold standard, installing insulation between roof deck and metal panels.
Process:
- Install roof deck over rafters
- Apply rigid foam boards (1-4 inches)
- Install vertical battens/purlins over foam
- Attach metal roofing to battens
Benefits: Creates continuous insulation, eliminates thermal bridging, provides ventilation airspace. For new builds, our roof installation team can integrate insulation seamlessly into the construction process.
Scenario 2: Retrofit (From Attic Side)
Most affordable approach for existing roofs.
Critical: You MUST maintain ventilation air gap between insulation and roof deck. Sealing the air channel causes moisture problems and voids warranties. When installing metal roofing properly, ventilation is essential.
Process:
- Install insulation baffles in every rafter bay (maintains 1.5-2 inch air gap)
- Add vapor barrier if required
- Install fiberglass batts or blow-in insulation
- Do not block ventilation pathways
Benefits: Less expensive, no roof disruption, can be DIY project.
Scenario 3: Metal Buildings Without Attics
Option A: Vinyl-Backed Fiberglass
- R-10 to R-19
- Cost: $1.00 – $1.50/sq ft
- Best for agricultural buildings, workshops
Option B: Spray Foam to Underside
- Highest performance
- Complete condensation prevention
- Cost: $3-5/sq ft (professional only)
Option C: Hybrid Approach
- Bubble foil radiant barrier + fiberglass batts
- Budget-friendly for barns
Cost Breakdown
Budget Tier: $0.50 – $1.50/sq ft
- Bubble foil, fiberglass batts, EPS foam
- 2,000 sq ft building: $1,000 – $3,000 total
Mid-Range Tier: $1.50 – $3.00/sq ft
- 1 inch foam insulation under metal roof, vinyl-backed fiberglass
- 2,000 sq ft building: $3,000 – $6,000 total
High-Performance Tier: $3.00 – $7.00+/sq ft
- Closed-cell/open-cell spray foam
- 2,000 sq ft building: $6,000 – $14,000+ total
Return on Investment
Example: 1,800 sq ft home, mid-range insulation
- Cost: $5,400
- Annual savings: $600
- Payback: 9 years
- After payback: $600/year savings for 40+ years
Most homeowners find steel roof insulation pays for itself within 3-7 years. If upfront costs are a concern, explore our roofing financing options to spread the investment over time.
R-Value Requirements by Climate
According to ENERGY STAR guidelines, proper R-values are crucial for energy efficiency:
Hot Climates: R-30 minimum (R-38 recommended)
Mixed Climates: R-38 minimum (R-49 recommended)
Cold Climates: R-49 minimum (R-60 recommended)
The Thermal Bridging Problem
R-value ratings can be misleading for steel roof insulation because they don’t account for thermal bridging. Heat flows through wood rafters or metal purlins that bypass insulation. A roof with R-38 batts might perform like R-30 because 10-15% is solid wood.
Solution: Continuous insulation (rigid foam over entire deck) eliminates thermal bridging. This is why 1 inch foam insulation under metal roof panels has outsized impact, it covers the entire roof continuously.
Common Questions Answered
Can I Put Insulation Directly Against Metal?
Short answer: Only with closed-cell spray foam.
Metal roofs need ventilation to prevent condensation. If you install fiberglass or open-cell foam directly against panels without an air gap, you’ll create moisture problems. For traditional vented assemblies, maintain minimum 1.5-2 inch air gap. Proper metal roof ventilation is just as important as the insulation itself.
Does 1 Inch Foam Provide Enough R-Value?
Standalone: No, only R-5 to R-6, below code minimums.
As part of a system: Yes, highly effective when combined with other insulation. It eliminates thermal bridging, adds to existing insulation, and creates ventilation air gap.
What’s Best for Noisy Metal Roofs?
Top choices for sound control:
- Open-Cell Spray Foam – Reduces noise 40-50%
- Fiberglass Batts (R-19+) – Reduces noise 30-40%, most affordable
- Mineral Wool – Reduces noise 40-45%, fire-resistant
Combine with proper metal roof installation techniques for best results.
Professional Installation Considerations
When to DIY vs. Hire a Pro
DIY-Friendly:
- Fiberglass batts
- Rigid foam boards
- Can save 40-60% on labor
Requires Professional:
- All spray foam applications
- Complex curved roof structures
- Above-deck installations during new construction
When hiring contractors, understand proper roofing contractor deposits and payment schedules. The Metal Roofing Alliance provides resources for finding qualified installers.
Conclusion: Make the Right Choice
Insulating under a metal roof is essential for a high-performance roofing system. The right insulation controls temperature, prevents condensation, reduces noise, and saves money for decades.
Quick Decision Guide
Choose Fiberglass if: Tight budget, standard framing, DIY capability
Choose Rigid Foam if: Re-roofing, want continuous insulation, 1 inch foam insulation under metal roof appeals as affordable upgrade
Choose Closed-Cell Spray Foam if: Metal roofing on curved roof, maximum performance, complete air sealing needed
Choose Open-Cell Spray Foam if: Noise reduction is top priority
Choose Radiant Barrier if: Pole barn in hot climate, ultra-low budget
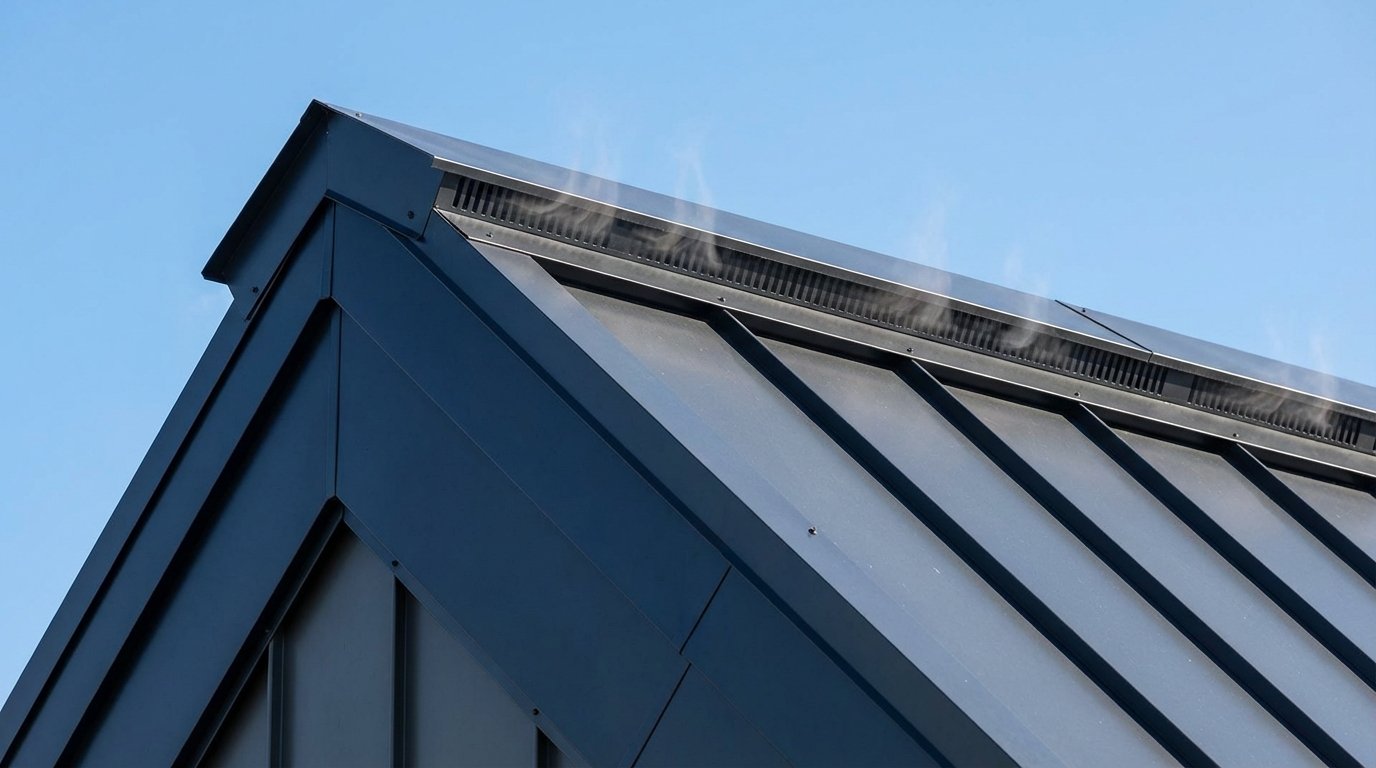
Don’t Forget Ventilation
Insulation and ventilation work together. Even the best steel roof insulation fails if moisture can’t escape. Ensure proper:
- Soffit intake vents
- Clear air channels
- Ridge exhaust vents
- Balanced airflow (50/50 intake/exhaust)
For complete guidance on ventilation requirements and proper roof maintenance, consult roofing professionals.
Take Action Now
Your next steps:
- Calculate your roof square footage
- Determine climate zone and required R-value
- Choose insulation type based on budget and needs
- Get 3 quotes from licensed installers
- Check for utility rebates and tax credits
The investment you make today in metal roof insulation will deliver comfort, energy savings, and building longevity for decades. Whether you’re planning new construction or a roof replacement, proper insulation is non-negotiable.
Frequently Asked Questions
Can I install insulation myself?
Fiberglass batts and rigid foam boards are DIY-friendly with basic skills and safety equipment. Spray foam requires professional installation, the chemicals need precise mixing and specialized equipment costing $20,000+.
How long does insulation last?
Fiberglass: 25-30 years | Closed-cell spray foam: 50+ years | Rigid foam boards: 40-50 years | Radiant barriers: 15-25 years
Keep insulation dry, moisture is the enemy.
Will insulation void my warranty?
No, proper insulation won’t void warranties. Many manufacturers require insulation and ventilation for warranty validity. What voids warranties: blocking ventilation, improper installation, moisture damage. Always check manufacturer guidelines before installing.
Does more insulation mean I don’t need ventilation?
Absolutely not. Insulation and ventilation serve different functions, you need both. Insulation slows heat transfer; ventilation removes moisture and prevents condensation. For traditional attic assemblies, ventilation is required, not optional. Learn more about how metal roof ventilation systems work alongside insulation to protect your home.
Can I retrofit insulation without removing the roof?
Yes, very common approach:
- Add from inside (attic side): Most affordable, no roof disruption
- Add rigid foam during re-roofing: Best performance
- Spray foam to underside: Effective for pole barns
The attic-side approach is most common for residential retrofits. If you’re unsure which approach suits your home, schedule a roofing inspection to assess your current insulation and ventilation before making a decision.