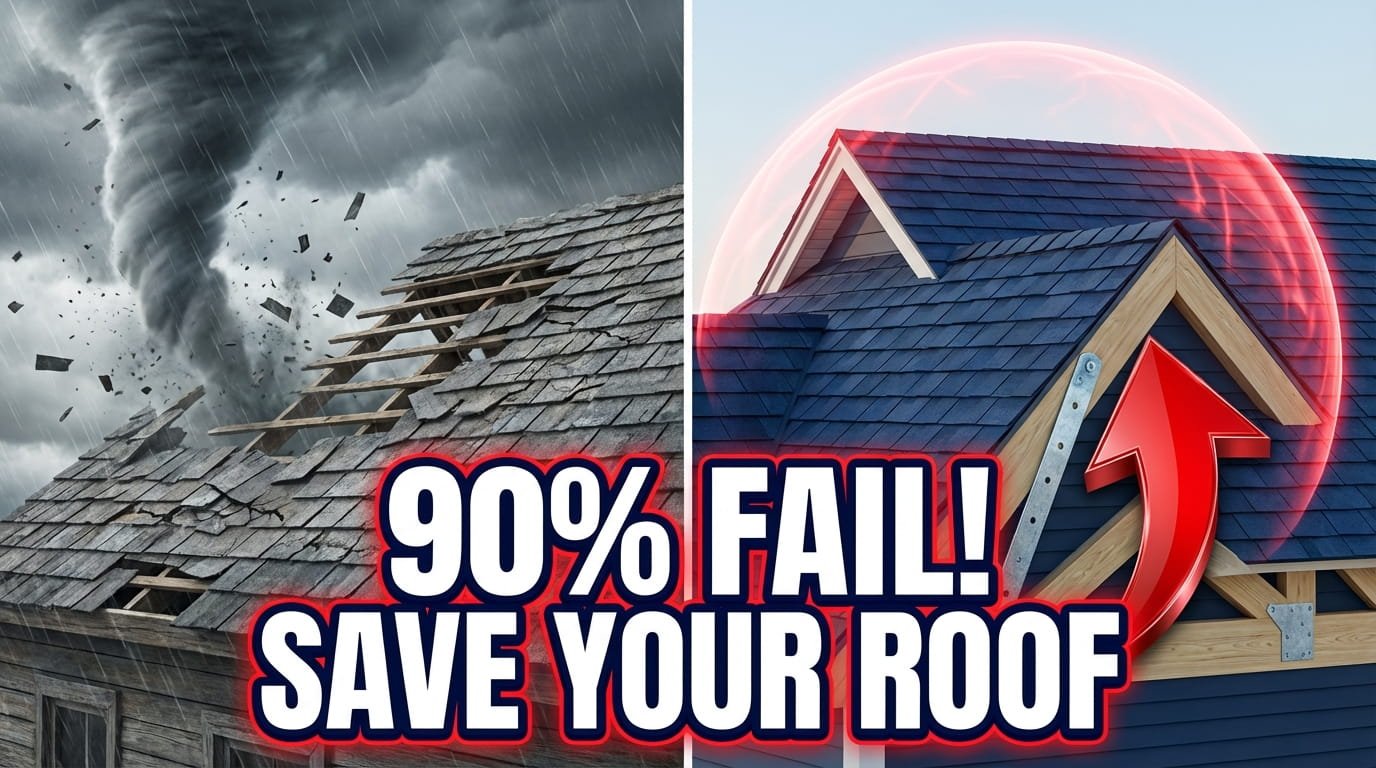
When a hurricane makes landfall, your roof is the first and most critical line of defense between your family and the storm. Yet most homes are far more vulnerable than their owners realize. The Federal Alliance for Safe Homes estimates that 90% of hurricane-related property losses begin with roof damage, not flooding, not windows, but the roof.
This guide covers everything a homeowner in a hurricane-prone area needs to know: the science of how hurricanes damage roofs, a complete pre-season preparation checklist, how hurricane clips and straps work, which roofing materials perform best in high winds, what to do in the 72 hours before a storm hits, and how to respond and file an insurance claim if damage does occur.
How Hurricanes Damage Roofs: The Science of Uplift
To protect your roof effectively, it helps to understand exactly why roofs fail during hurricanes. The answer is not simply “the wind blew it off.”
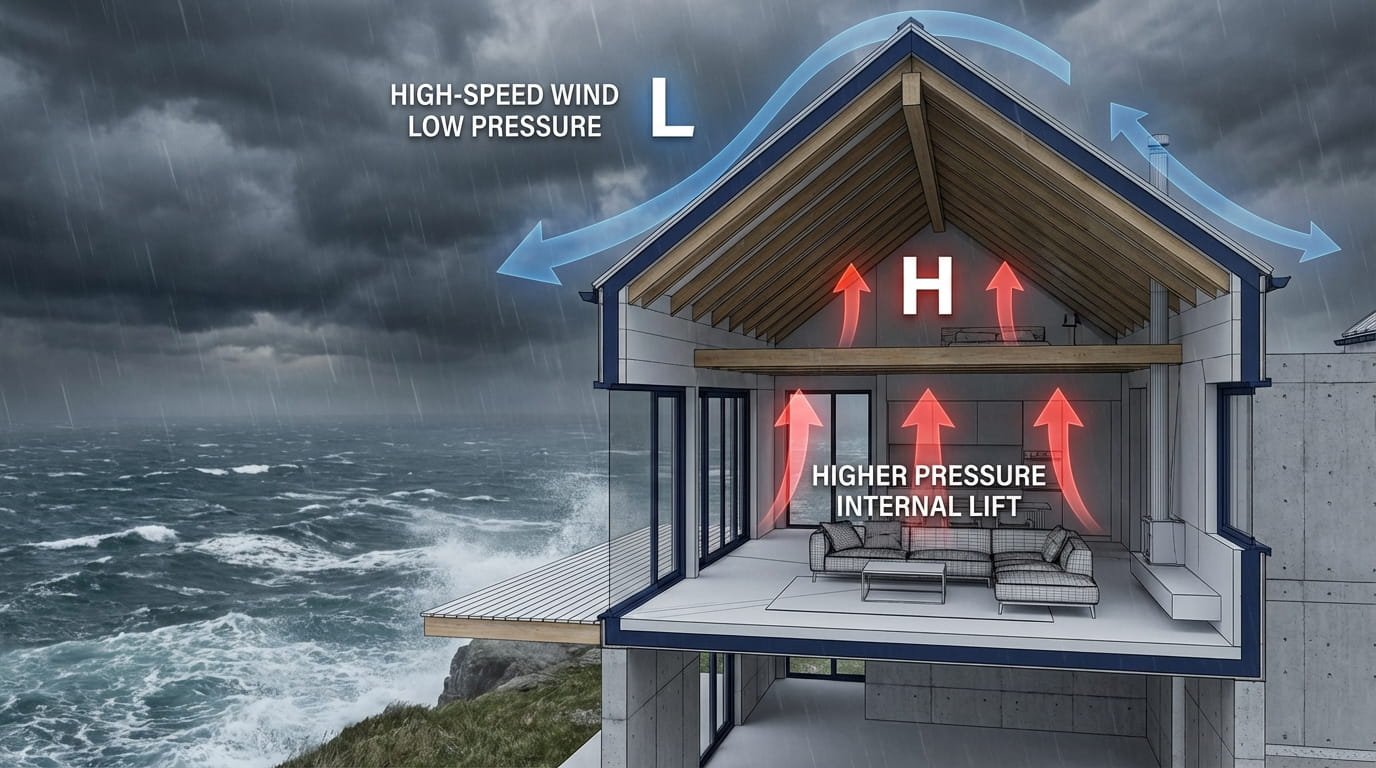
Wind Uplift: The Real Mechanism
When hurricane-force wind travels over the top of a roof, it moves much faster than the air inside your home. This speed difference creates a region of low pressure above the roof and higher pressure below it, the same principle that generates lift on an airplane wing. The result is a powerful suction force that tries to pull the roof upward and away from the walls.
This is why roofs do not simply get pushed off by direct wind force. They get lifted off from below, which is why the connection between the roof structure and the walls is the single most critical point in hurricane-resistant construction.
Three Ways Hurricanes Destroy Roofs
- Wind uplift: pressure differential between inside and outside lifts the entire roof structure
- Flying debris: anything from tree branches to pieces of neighboring roofs can puncture or strip shingles
- Water infiltration: once shingles are damaged or blown off, even brief rainfall causes catastrophic interior damage
What Wind Speed Means for Your Roof
| Hurricane Category | Sustained Wind Speed | Typical Roof Impact | Material Survivability |
|---|---|---|---|
| Category 1 | 74 – 95 mph | Loose shingles blown off, minor flashing damage | Most materials survive if maintained |
| Category 2 | 96 – 110 mph | Significant shingle loss, some decking exposed | Metal holds; standard shingles struggle |
| Category 3 | 111 – 129 mph | Extensive shingle/tile loss, possible partial decking failure | Metal + sealed deck protects interior |
| Category 4 | 130 – 156 mph | Widespread structural damage, roof sections lost | Metal with hurricane straps; most others fail |
| Category 5 | 157+ mph | Catastrophic roof loss common | No roof guaranteed; structure integrity critical |
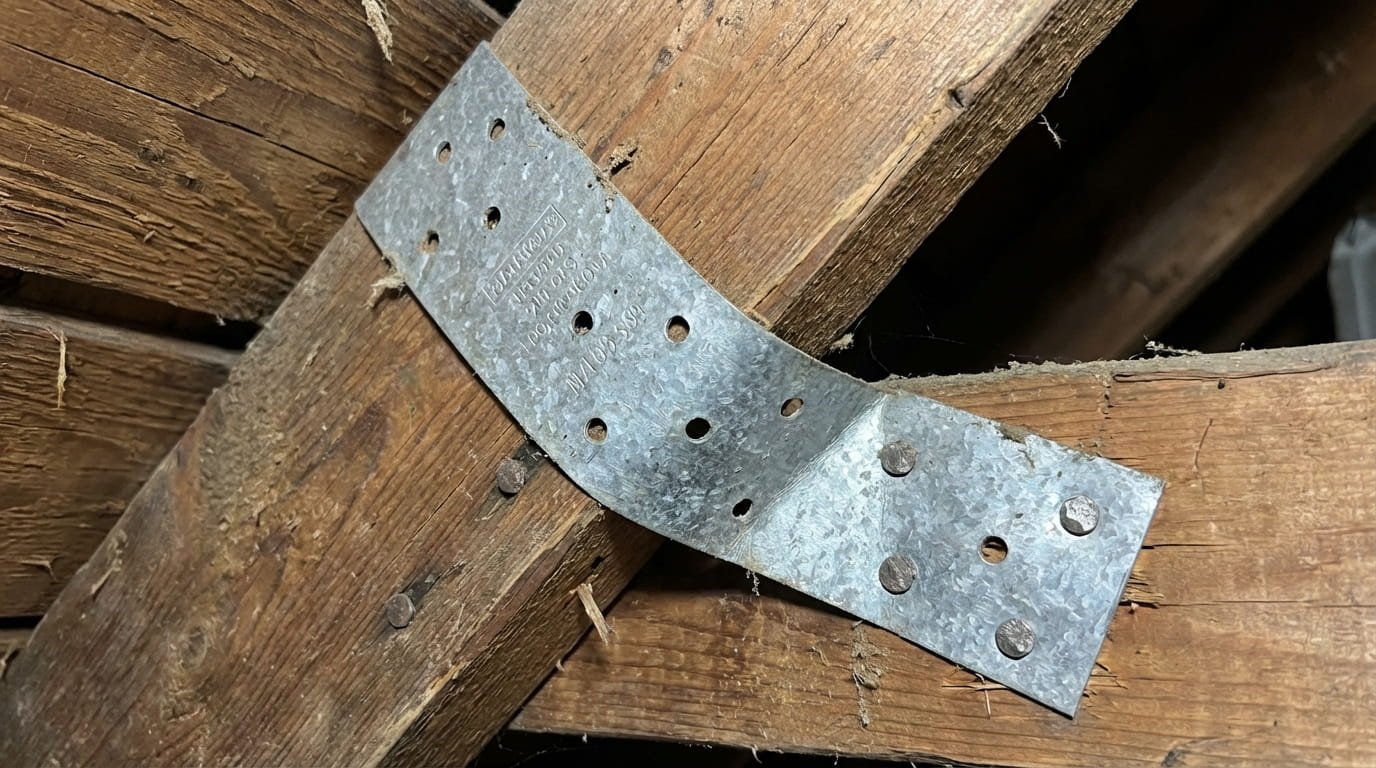
The roof-to-wall connection is the single most vulnerable point in hurricane conditions. Hurricane clips and straps specifically reinforce this connection, which is why they are the most cost-effective investment in hurricane protection.
Pre-Hurricane Season Checklist: What to Do Before the Storm
The time to prepare your roof is months before a hurricane watch is issued, not days before. Here is a complete pre-season action plan:
![]()
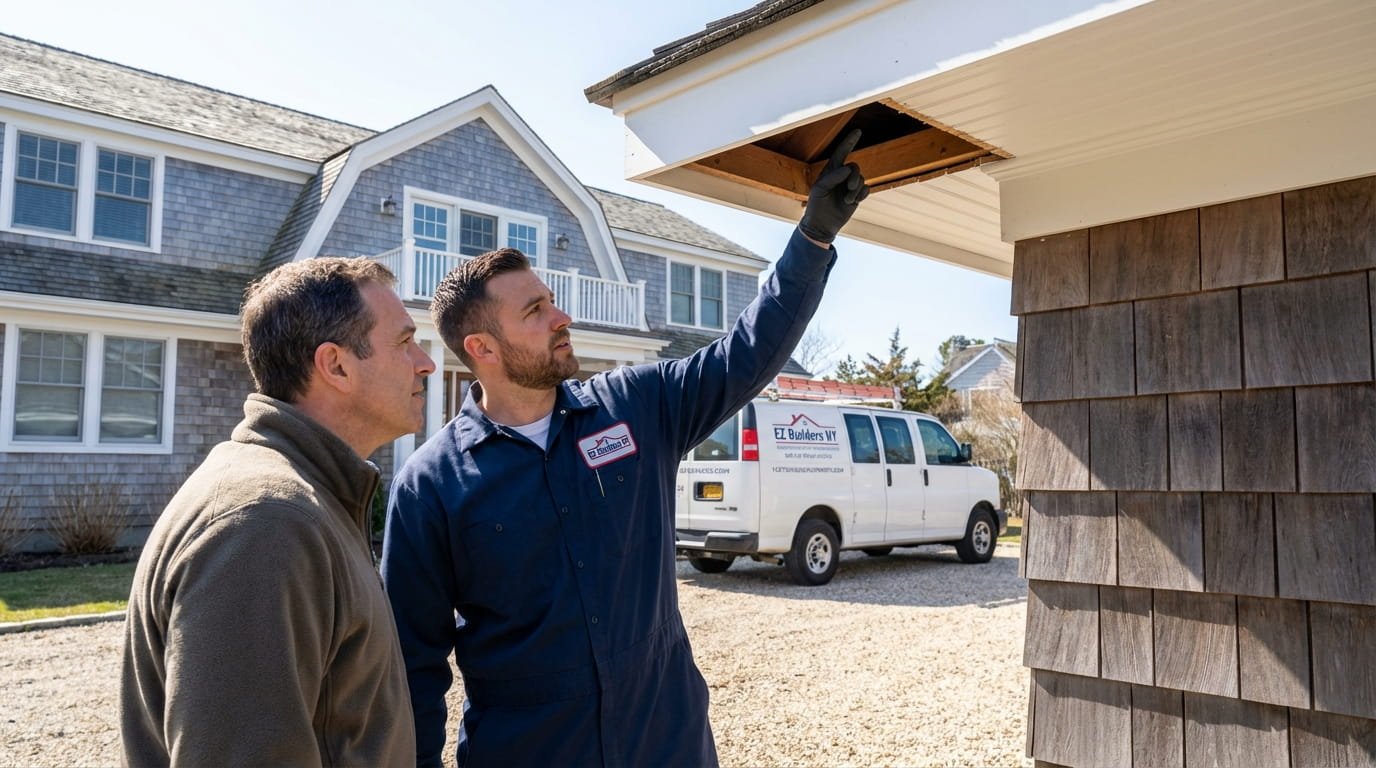
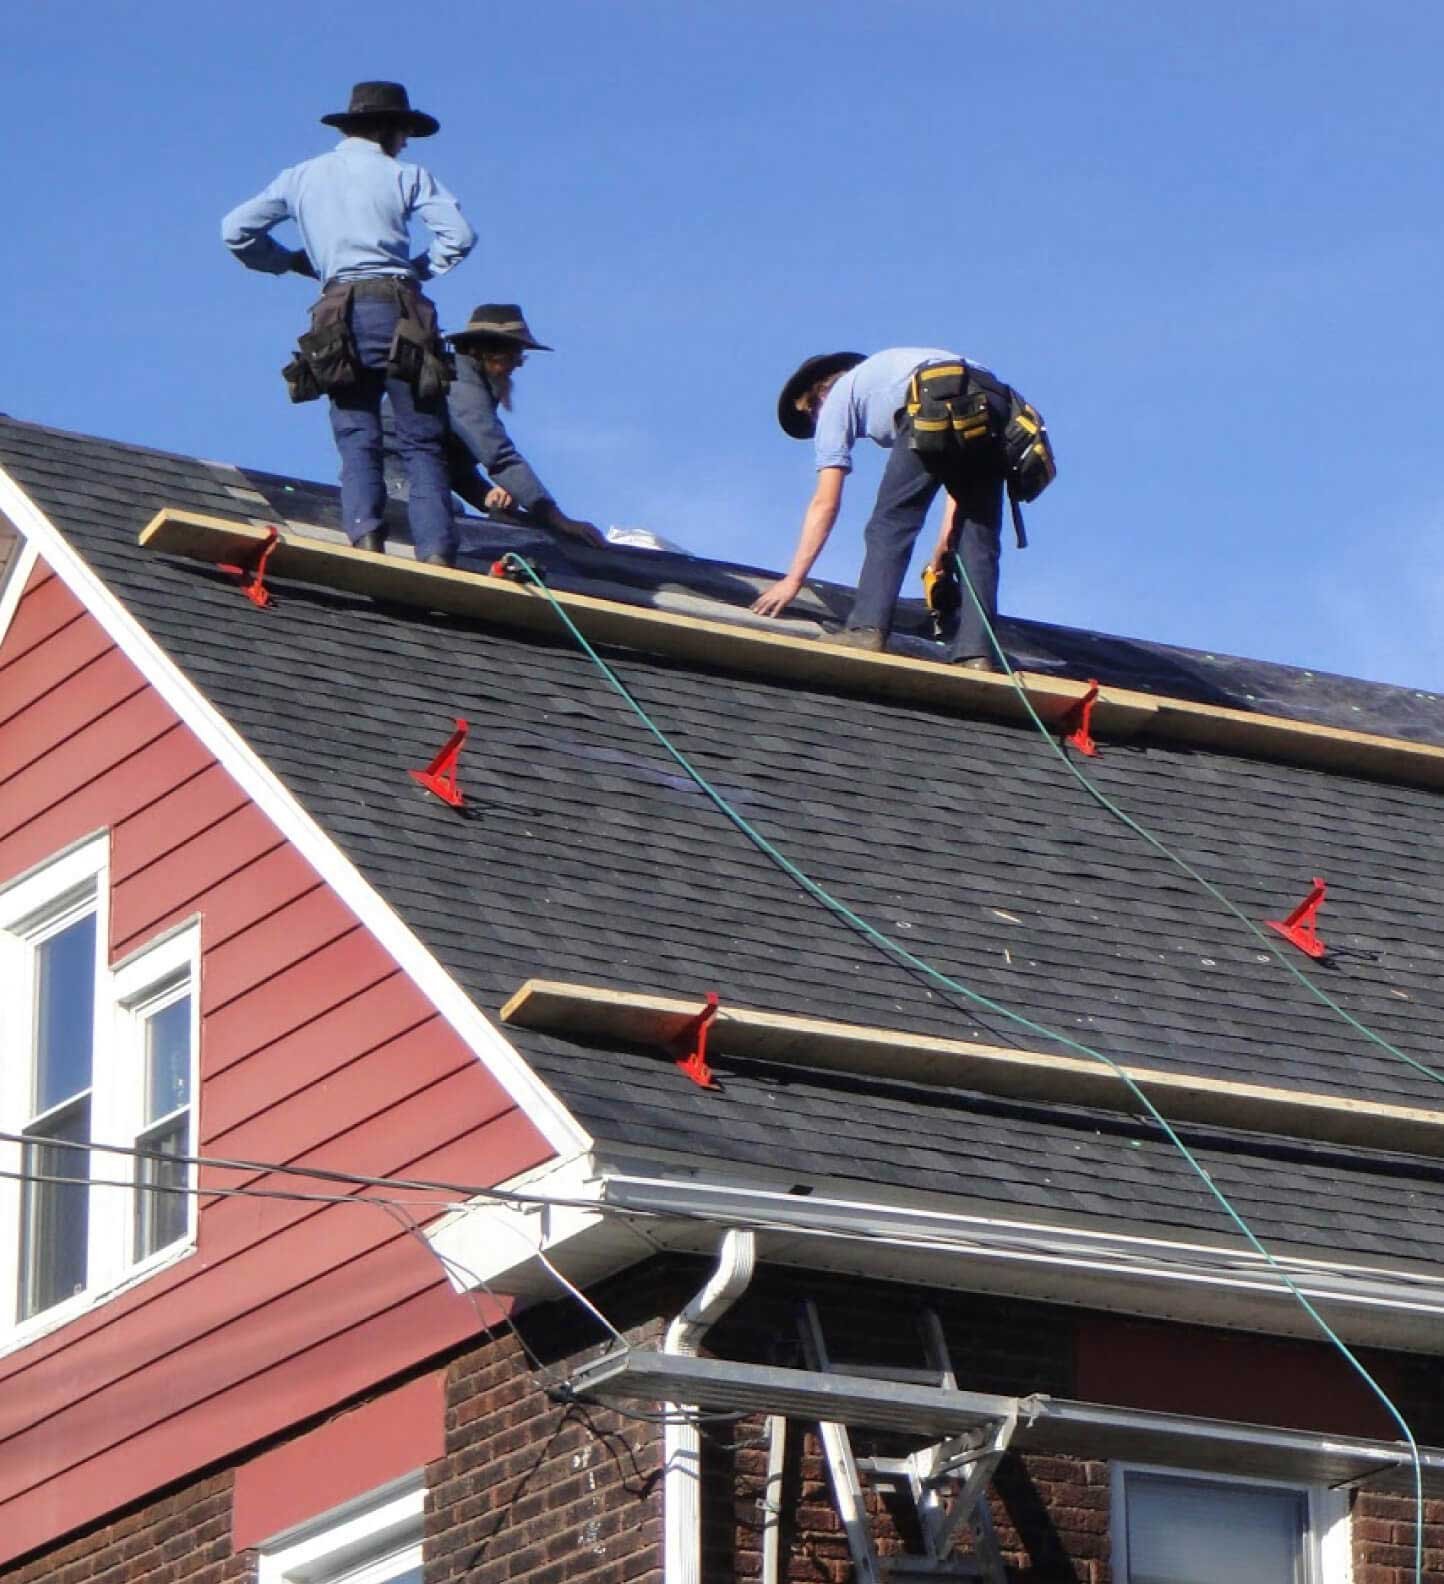
A standard annual inspection catches general wear and tear. A pre-hurricane roof inspection specifically evaluates your roof’s storm-readiness, checking fastener integrity, uplift resistance, penetration seals, and the condition of your decking. Schedule this in late winter or early spring, before hurricane season begins in June.
- Ask the inspector to check fastener patterns. Under-nailed decking is a major uplift risk.
- Request an assessment of flashing integrity at all penetrations
- Ask whether your roof-to-wall connections meet current building codes
Any shingle that is cracked, curled, lifting at the edges, or has lost granules is a hurricane liability. In 50 mph winds, a loose shingle becomes a lever that can peel back an entire section.
- Re-secure lifting shingles with roofing cement immediately
- Replace any shingles that are cracked, brittle, or missing
- Re-seal all flashing around chimneys, skylights, pipe boots, and vent openings with fresh silicone roofing caulk
- Check that all ridge cap shingles are firmly fastened. These are among the first to fail in high winds.
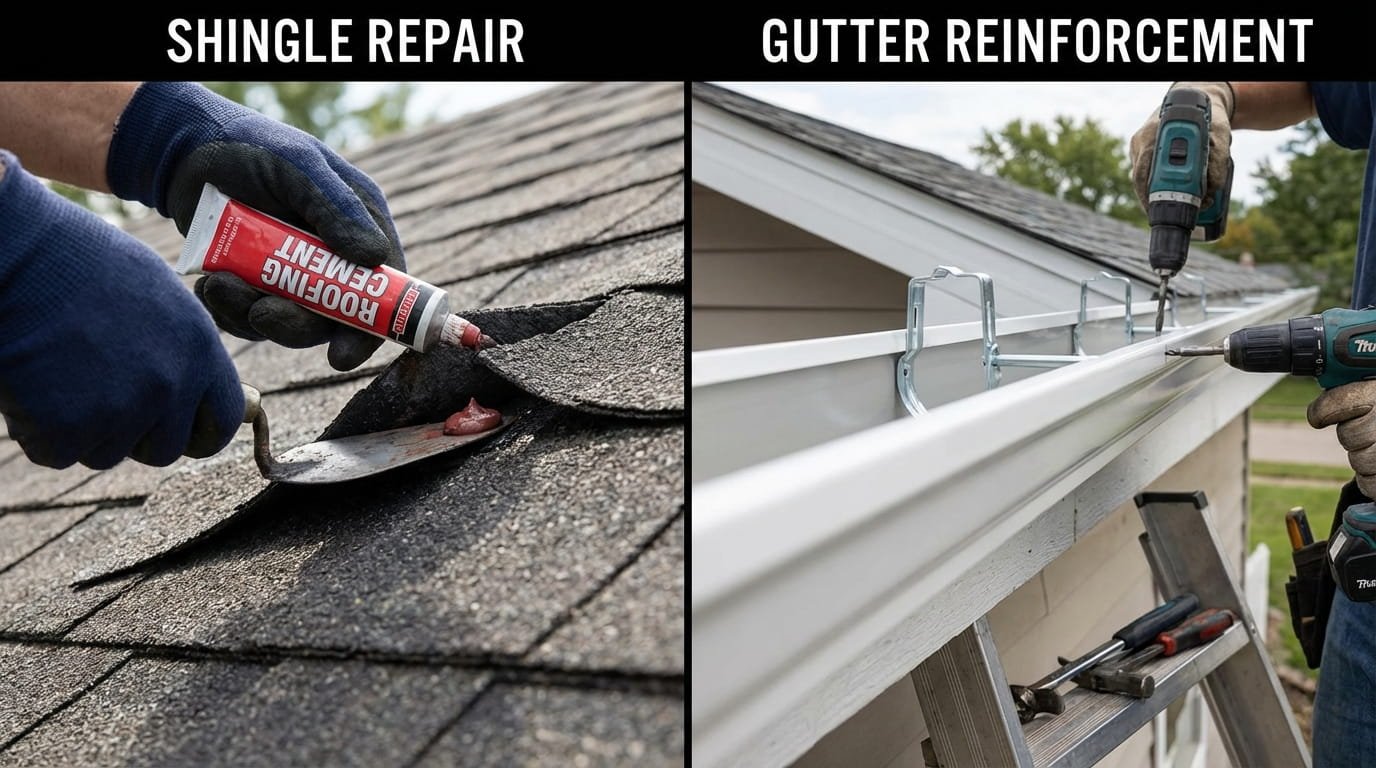
Clogged gutters during a hurricane do not just overflow. The standing water weight can pull the entire gutter system off the fascia, taking shingles and flashing with it. Additionally, backed-up water can force its way under shingles at the eaves. Our seamless gutters are designed to handle high-volume rainfall with no seam leaks.
- Clean all gutters and downspouts thoroughly
- Check that all gutter hangers and downspout straps are firmly attached
- Add additional hangers if any sections sag or pull away from the fascia
- Ensure downspouts direct water at least 3 feet from the foundation
Every penetration through your roof, skylights, vents, pipe boots, chimney flashing, is a potential water entry point when horizontal rain is driven at 100+ mph. Each one needs individual attention:
- Skylights: check frame seals, re-caulk if cracked; install plywood covers for non-impact-rated units if storm approaches
- Roof vents: ensure all fastening screws are tight and all seals are intact
- Chimney flashing: one of the highest-risk areas; replace any cracked sealant and check that the counter-flashing is properly embedded
- Pipe boots: the rubber collar around pipe penetrations cracks over time; replace any that show UV cracking
During a hurricane, any tree branch within striking distance of your roof becomes a potential projectile. The standard recommendation is to maintain a minimum 10-foot clearance between tree branches and your roofline, and to remove any dead or weakened trees entirely.
- Remove dead limbs and branches first. These break off at much lower wind speeds than healthy wood.
- Trim healthy branches so no limb hangs directly over the roof
- Have an arborist assess any large trees close to the house for structural health
| Pre-Season Task | When to Complete | DIY or Pro | Priority |
|---|---|---|---|
| Professional inspection | Feb – April (before season) | Pro | High |
| Shingle and flashing repair | Immediately after inspection | DIY or Pro | High |
| Gutter cleaning and reinforcement | March – May | DIY | High |
| Seal all penetrations | April – May | DIY with sealant | High |
| Tree trimming | Winter or early spring | Arborist | High |
| Install hurricane clips/straps | Off-season only | Pro required | High |
| Consider impact-resistant materials | Planned replacement projects | Pro | Medium |
Hurricane Clips vs. Hurricane Straps: Which Do You Need?
Hurricane clips and hurricane straps are both metal connectors that reinforce the roof-to-wall connection, the most critical point of failure in storm conditions. They serve similar purposes but differ in design, strength, and application.
- L-shaped bracket, single-sided connection on one face of the rafter
- Easier to retrofit in existing structures with limited attic access
- Suitable for Category 1–2 hurricane zones
- Typical cost: $300 – $700 professionally installed
- Wraps around rafter, connects on both sides of the wall plate
- Superior uplift resistance, recommended for Category 3+ zones
- Slightly more complex installation, especially as a retrofit
- Typical cost: $600 – $1,500 professionally installed
| Feature | Hurricane Clips | Hurricane Straps | Advantage |
|---|---|---|---|
| Connection points | Single side | Both sides / wrap-around | Straps |
| Uplift resistance | Good | Superior | Straps |
| DIY-friendly | Somewhat | Requires pro for retrofit | Clips |
| Cost (avg. home) | $300 – $700 | $600 – $1,500 | Clips |
| Best for | Cat 1–2 zones | Cat 3+ coastal zones | Depends on location |
| Code compliance | Many areas require | Required in high-wind zones | Both meet code if installed correctly |
Most coastal U.S. states now require hurricane straps or clips on all new construction. If your home was built before 2002, it may not have them at all. Have a contractor inspect your existing connections. Retrofitting is one of the highest-ROI investments in a hurricane zone.
Best Roofing Materials for Hurricane Zones
Not all roofing materials are equal when it comes to hurricane performance. Here is how the most common options compare:
Metal Roofing: Best Overall for Hurricane Zones
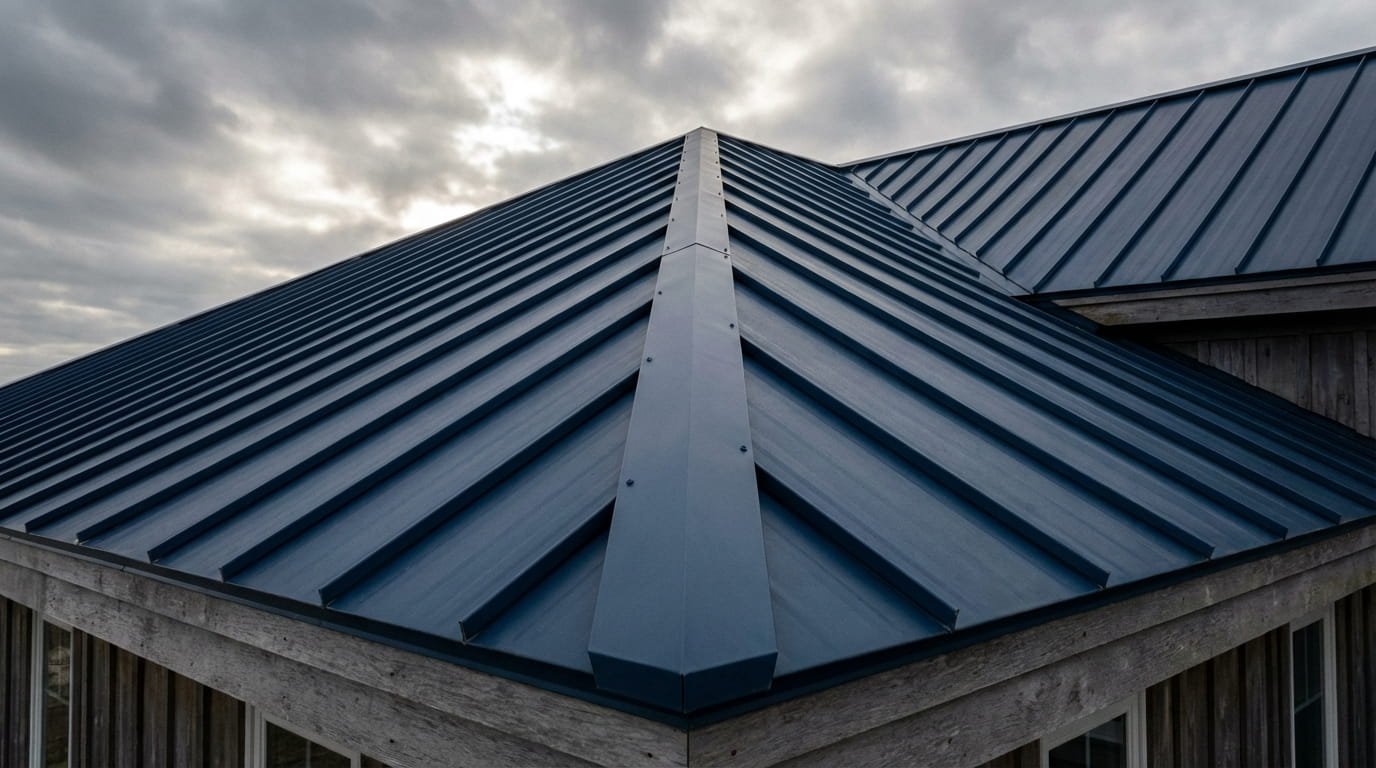
Metal roofing consistently outperforms all other materials in high-wind conditions. Interlocking panel systems create a continuous surface with no loose edges for wind to grab. Properly installed standing seam metal roofs are rated to withstand winds of 140–160 mph.
- Wind resistance: 140–160 mph depending on panel system and fastening
- Lifespan: 40–70 years with minimal maintenance
- Impact resistance: excellent against debris
- Cost: higher upfront ($10,000–$25,000 for an average home) but significantly lower lifecycle cost
Class 4 Impact-Resistant Asphalt Shingles
Not all asphalt shingles are created equal. Class 4 shingles (rated under UL 2218 standard) are reinforced with fiberglass mats and polymer-modified asphalt to resist impact and high wind. They represent a significant upgrade from standard shingles at a moderate price premium.
- Wind resistance: typically rated to 130 mph when properly installed
- UL 2218 Class 4 is the highest impact resistance rating for shingles
- Many insurance companies offer discounts of 5–20% for Class 4 shingles
- Cost: 10–25% more expensive than standard shingles, excellent value overall
Concrete and Clay Tile
Heavy tile roofs have inherent wind resistance due to their mass, but only when every tile is correctly fastened. Improperly fastened tiles become extremely dangerous projectiles in Category 3+ conditions.
- Wind resistance: excellent when correctly fastened with adhesive and mechanical fasteners
- A poorly fastened tile roof is more dangerous than a shingle roof. Broken tiles can travel hundreds of feet.
- Requires a structural engineer to verify your home can support the added weight before installation
Flat Roofs in Hurricane Conditions
Flat roofs present unique challenges in hurricanes. Standing water during intense rainfall combined with wind uplift at the edges is a dangerous combination.
- Ensure drainage is completely clear before hurricane season
- Add metal edge termination (drip edge) to prevent wind from lifting the membrane at the perimeter
- Consider hurricane-rated TPO or modified bitumen with welded seams over older built-up roofing
| Material | Max Wind Rating | Impact Class | Approx. Cost | Hurricane Zone Rating |
|---|---|---|---|---|
| Standing seam metal | 140–160 mph | Excellent | $14,000 – $25,000 | Best |
| Class 4 asphalt shingles | 130 mph | Class 4 (UL 2218) | $8,000 – $14,000 | Very Good |
| Standard asphalt shingles | 60–90 mph | Class 1–3 | $6,000 – $11,000 | Fair |
| Concrete / clay tile | 150+ mph (when fastened) | Excellent | $12,000 – $22,000 | Good (if installed correctly) |
| Cedar shake (treated) | 100 mph | Good | $10,000 – $18,000 | Moderate |
| EPDM / TPO flat | 90–110 mph | Moderate | $5,000 – $12,000 | Fair with reinforcement |
Roof Design Features That Improve Hurricane Resistance
Beyond materials and connectors, the shape and design of your roof significantly affects its hurricane performance. If you are building a new home or replacing a roof, these design choices matter:
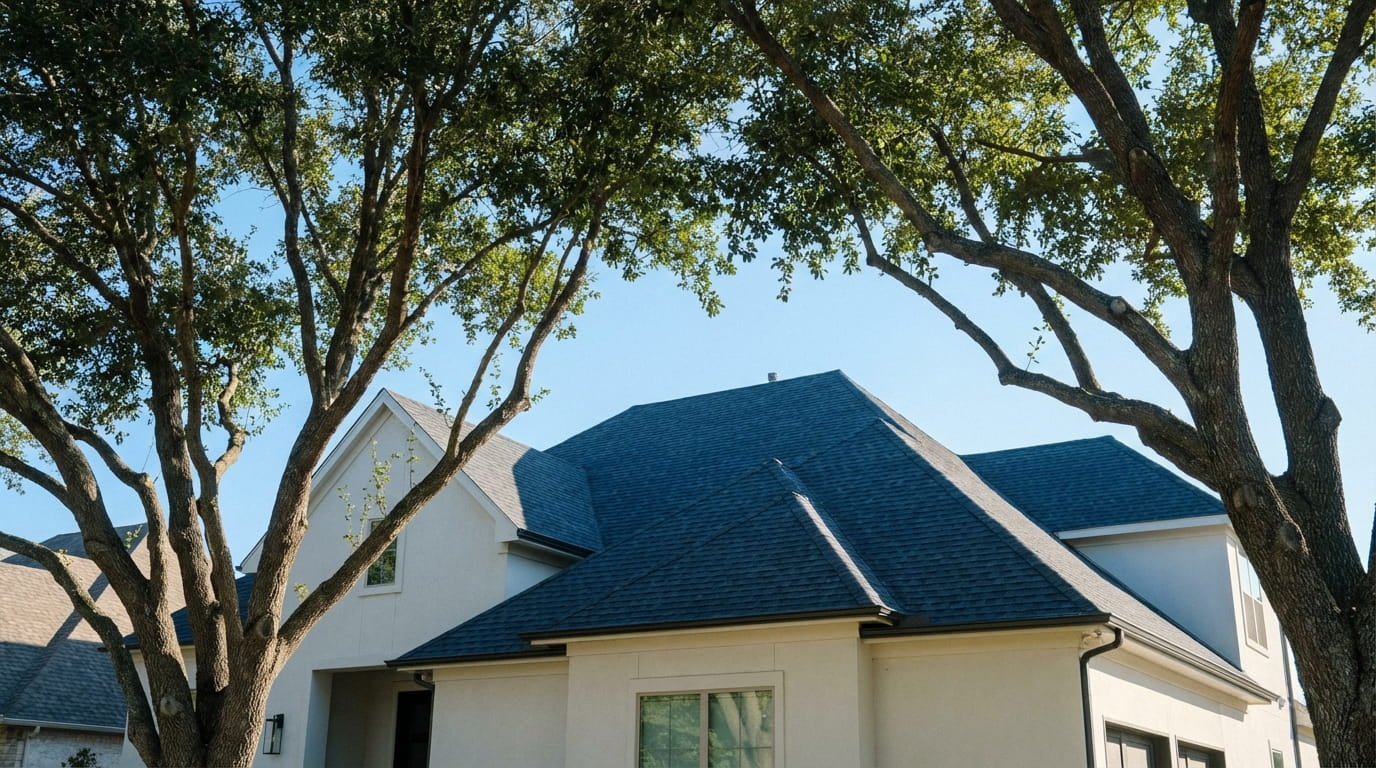
Hip Roofs vs. Gable Roofs
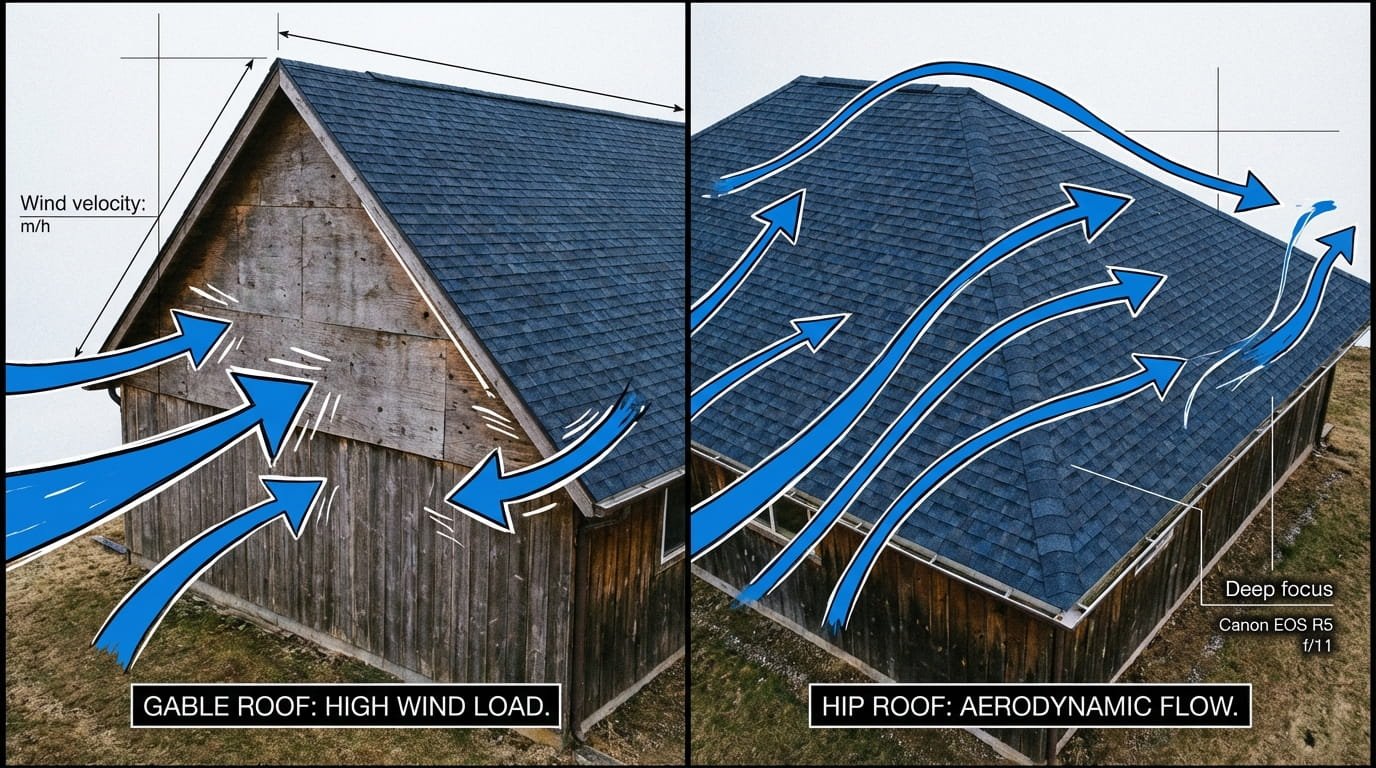
This is one of the most impactful, and least-known, factors in hurricane roof performance. A hip roof has four sloping sides that meet at a central ridge. A gable roof has two sloping sides and two flat triangular end walls (gables).
In a hurricane, gable ends act as a sail. Wind catches the flat triangular surface and generates enormous outward pressure, which can cause the entire gable wall to fail, bringing the roof down with it. Hip roofs, with slopes on all four sides, have no flat surfaces for wind to push against. Wind flows around and over the structure.
- Hip roofs can reduce roof damage by 30–40% compared to gable roofs at the same wind speed
- If you have a gable roof, brace the gable ends from inside the attic. This is an affordable retrofit.
- The aerodynamic benefit of a hip roof often pays for itself in lower insurance premiums
Roof Overhang Length
Longer decorative overhangs look attractive but create significant uplift leverage in hurricane conditions. Wind gets under the extended overhang and acts as a pry bar, lifting the entire edge. Building codes in hurricane zones typically limit overhangs to 20 inches or less for this reason.
Sealed Roof Deck: Your Secondary Water Barrier
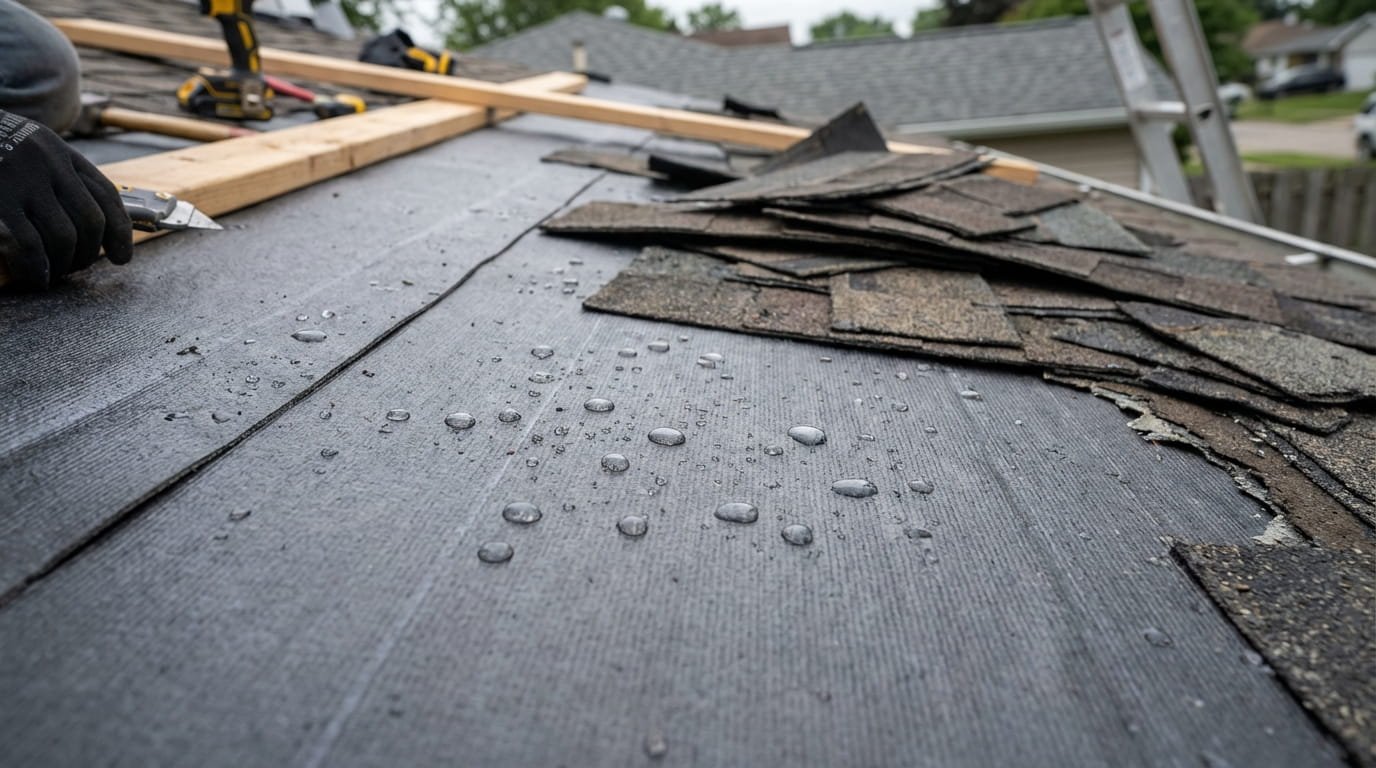
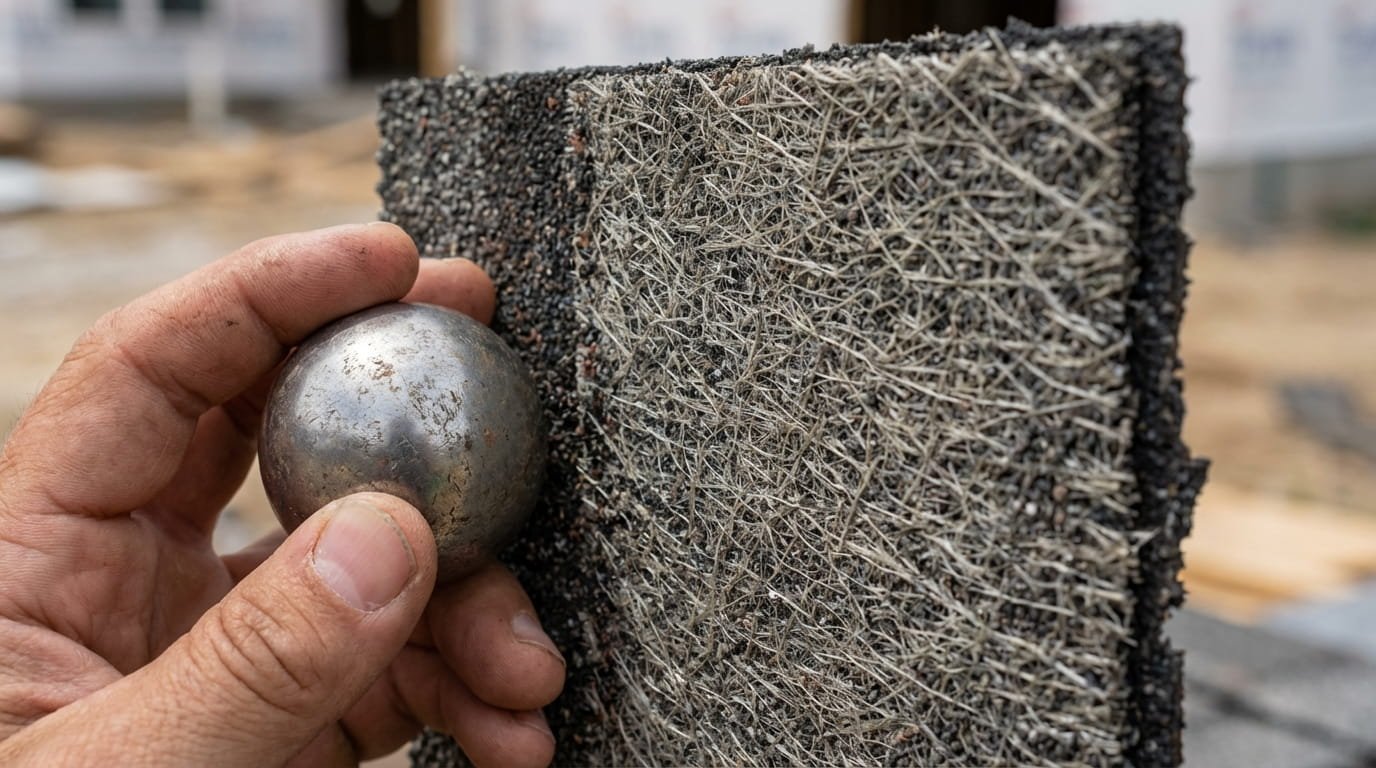
Even if your shingles blow off, a sealed roof deck can keep water out of your home. A sealed deck uses peel-and-stick self-adhering underlayment (rather than standard felt paper) directly on the wood sheathing. If shingles are stripped, the membrane remains waterproof.
- Standard 15-lb or 30-lb felt tears easily once shingles are gone. It provides no protection.
- Self-adhering modified bitumen underlayment stays waterproof even under direct rainfall
- Adding a sealed deck to a roof replacement is a moderate cost upgrade with significant storm protection value
A sealed roof deck can prevent interior flooding even if you lose 100% of your shingles in a Category 3 storm. This single upgrade is one of the highest-value hurricane investments available during a roof replacement.
What to Do When a Hurricane Is 72 Hours Away
When a storm is in the forecast, you have a narrow window to take action. Here is a time-based action plan:
- Do a final roof inspection, look for anything loose, lifted, or cracked
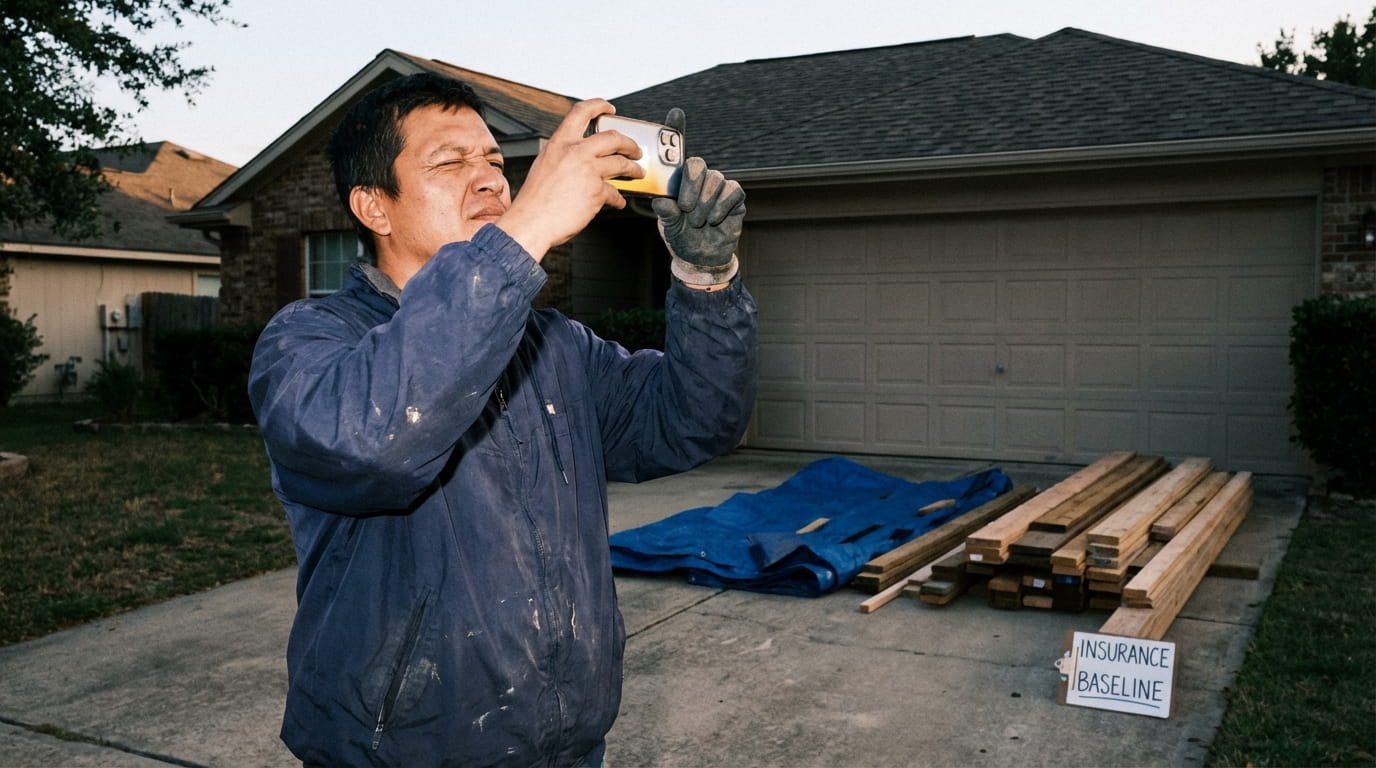
- Photograph your entire roof from multiple angles. This is your insurance baseline.
- Clear gutters and downspouts of any debris that has accumulated
- Buy emergency tarp supplies now. Hardware stores sell out within 48 hours of a forecast.
- Check that your insurance policy is current and you know your deductible
- Cover any non-impact-rated skylights with plywood, cut and pre-fit in advance
- Secure or bring inside all outdoor furniture, potted plants, grills, and decorative items
- Seal any known gaps or problem areas with roofing tape or emergency caulk
- Move vehicles away from trees and into garages
- Confirm your evacuation route and plan
- Apply heavy-duty roofing tape over any known vulnerable flashing areas
- Shut off power at the breaker if flooding is expected in your area
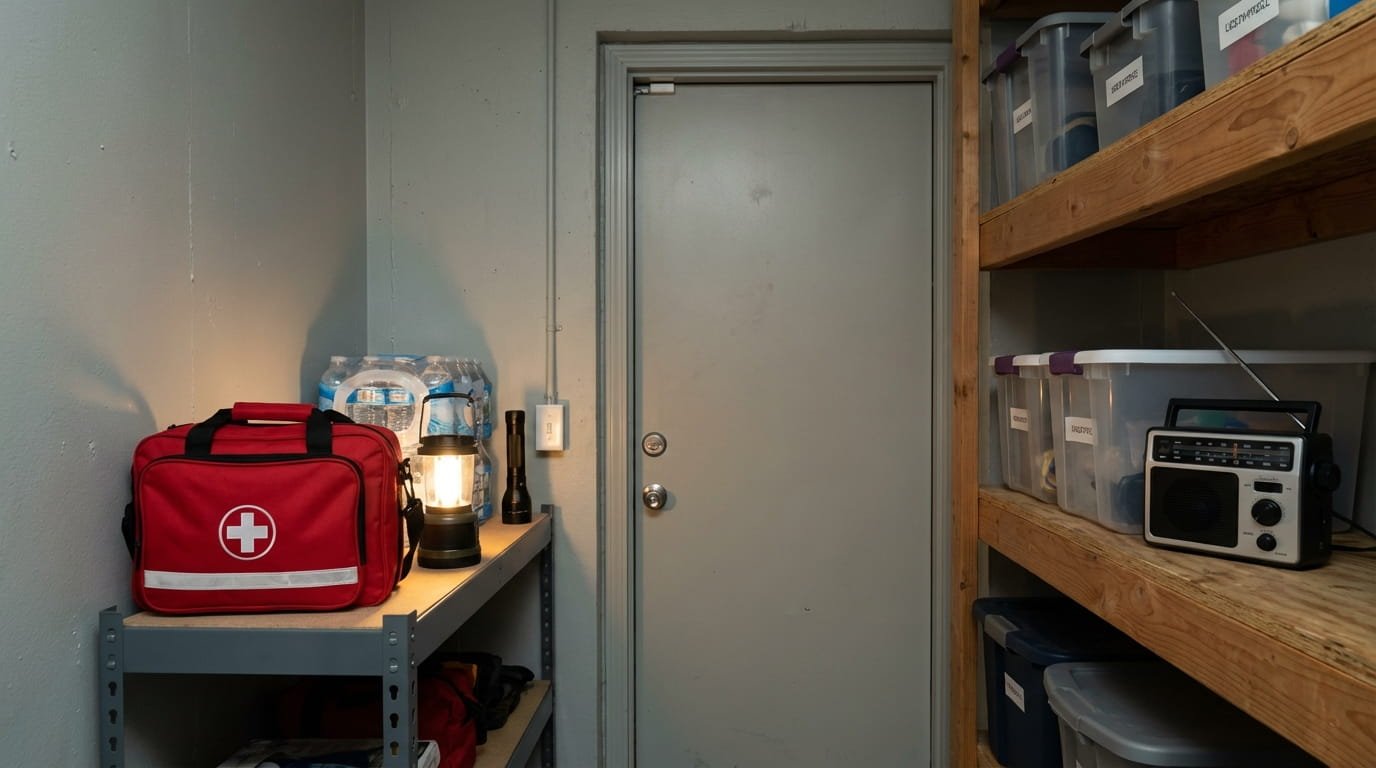
- Fill bathtubs with water for emergency use
- Take a final video walkthrough of your home interior and exterior for insurance documentation
- Leave if under an evacuation order. No roof is worth your life.
| Timeframe | Key Action | Priority | Notes |
|---|---|---|---|
| 72 hours out | Photograph roof and property | Critical | Timestamps prove pre-storm condition |
| 72 hours out | Buy tarp and emergency supplies | High | Stores sell out 48 hrs before storm |
| 48 hours out | Cover non-impact skylights | High | Pre-cut plywood in advance |
| 48 hours out | Secure all outdoor items | High | Everything becomes a projectile |
| 24 hours out | Final video of entire property | Critical | Use for insurance claim |
| At landfall | Stay away from windows and roof | Critical | Interior rooms only |
If Your Roof Is Damaged During the Hurricane: Step-by-Step Response
During the Storm
If you hear or see evidence of roof damage while the storm is in progress, your priority is personal safety, not the roof.
- Move to the most interior room on the lowest floor of your home
- Stay away from all windows and exterior walls
- If a section of ceiling collapses, do not attempt to cover the damage. Move away from the area immediately.
- Never go onto the roof during active storm conditions, even to stop a leak
Immediately After the Storm
- Assess structural safety before entering any area with ceiling damage, look for sagging or sounds of cracking
- Turn off electrical breakers in any rooms where water has entered
- Photograph and video everything from ground level before touching or moving anything
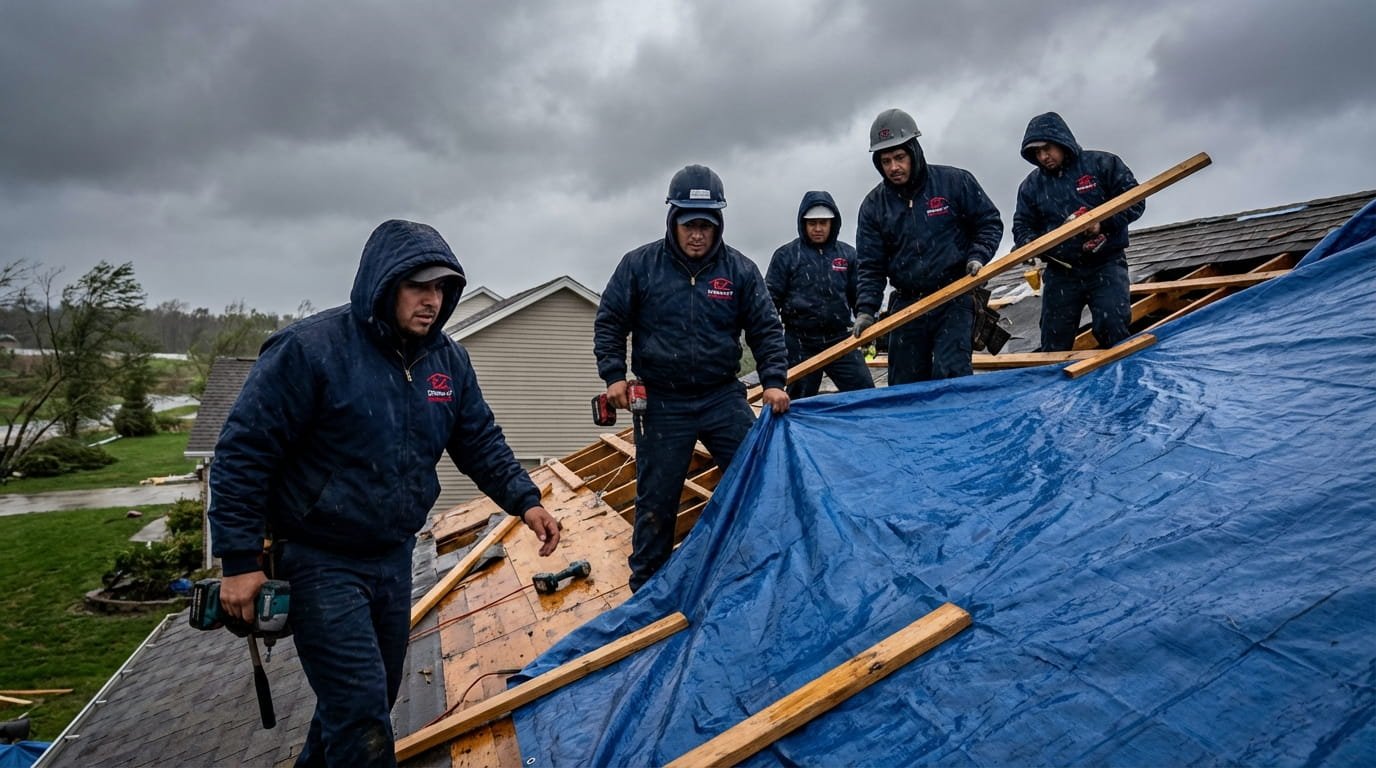
- Deploy a tarp over damaged areas as quickly as possible. Even minor additional rainfall can triple the interior damage. Our emergency roofing team is available 24/7.
- Do not enter the attic or climb onto the roof until a professional has cleared it as structurally safe
Documenting Damage for Insurance
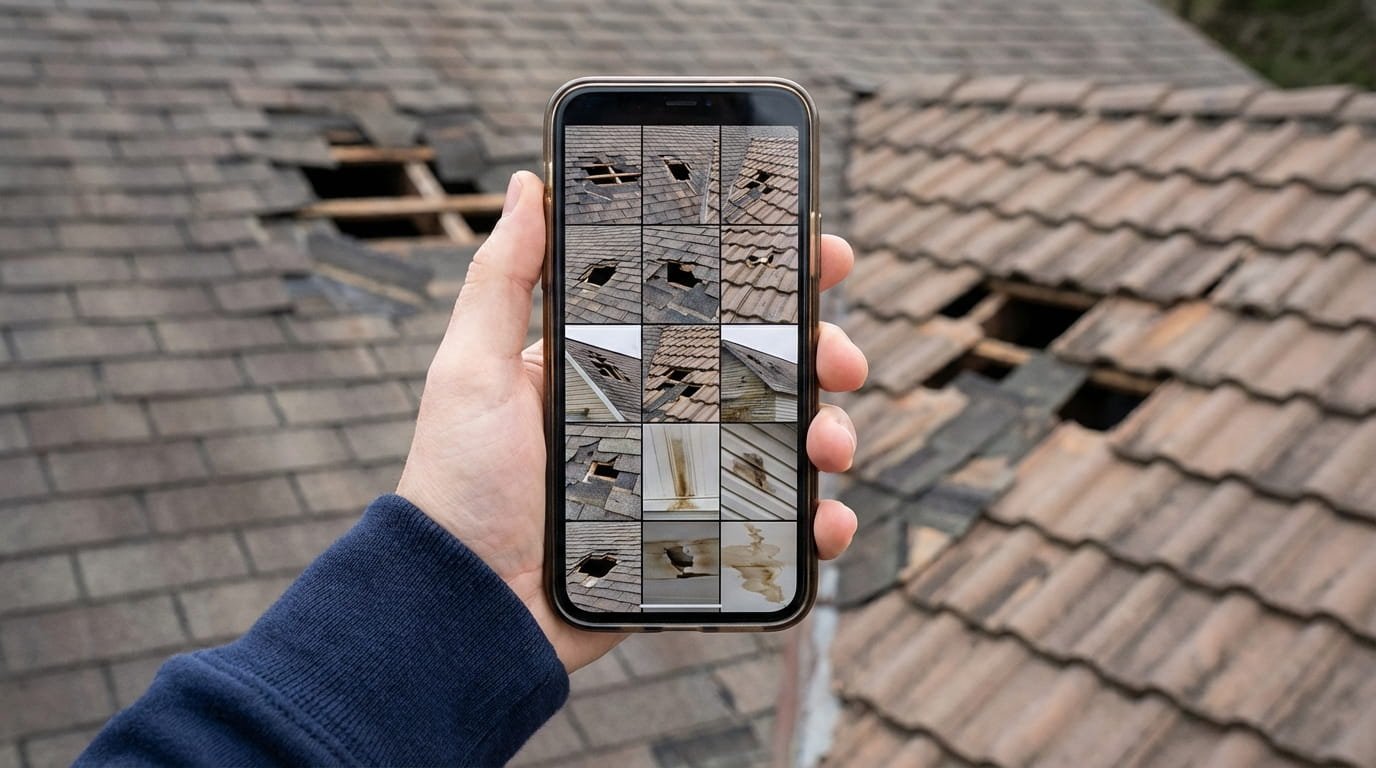
- Take wide-angle photos of the full roof surface, then close-ups of every damaged area
- Include intact areas in your photos. These show normal condition and make damage more obvious.
- Photograph from multiple angles. Adjusters may contest claims that only have one-angle documentation.
- Note the date and time on photos (most phones do this automatically)
- Keep all debris on site until the adjuster visits. Debris is evidence of what caused the damage.
In the hours and days after a hurricane, storm-chasing contractors flood affected areas. Legitimate contractors do not knock on your door unsolicited, always provide written itemized estimates, are licensed and insured in your state, and do not ask you to sign over your insurance rights.
Never sign an Assignment of Benefits form. Once signed, you lose control of your claim. The contractor can bill the insurance company whatever they choose, and you may be left with no legal recourse.
Insurance Claims After Hurricane Roof Damage
Filing an insurance claim after a hurricane is a process that rewards preparation and documentation. Here is what you need to know:
- Sudden damage from wind, hail, flying debris, and rain entry through storm-damaged areas
- Cost of emergency tarping (keep all receipts)
- Temporary repairs made to prevent additional damage
- Additional living expenses if home is uninhabitable
- Pre-existing damage that existed before the storm
- Normal wear and tear that contributed to the damage
- Flooding from storm surge (requires separate flood insurance)
- Neglected maintenance issues that worsened in the storm
Actual Cash Value vs. Replacement Cost Value: Know Your Policy
This distinction can mean a difference of thousands of dollars in your settlement:
- Actual Cash Value (ACV): Pays what your roof was worth at the time of loss, factoring in depreciation. A 15-year-old shingle roof with a 25-year lifespan gets paid at about 40% of replacement cost.
- Replacement Cost Value (RCV): Pays the full cost to replace the damaged roof with a similar material, regardless of age. Can mean 2–3x higher claim payouts.
Review your policy now, before a storm, and consider upgrading to RCV coverage if you currently have ACV.
Many homeowners in hurricane-prone coastal states are surprised to discover their policy has a separate, much higher deductible for hurricane damage. Standard deductibles might be $1,000–$2,500. Hurricane deductibles are often 1–5% of your home’s insured value, meaning a $400,000 home could have a $4,000–$20,000 deductible before insurance pays anything. Look up your hurricane deductible today.
How to File a Successful Claim
- Report damage to your insurance company immediately. Most policies require prompt notification.
- Do not make permanent repairs until the adjuster visits and documents the damage
- Get two or three independent contractor estimates before the adjuster arrives
- Request to have a contractor present during the adjuster’s inspection. They can identify and advocate for damage you might miss.
- Review the settlement offer line by line. Request an itemized explanation of any depreciation applied.
- If you disagree with the settlement, you have the right to request an independent appraisal or file a complaint
Frequently Asked Questions
How do I know if my roof can survive a hurricane?
Key indicators include the age of the roof (under 10 years for asphalt shingles is good), the presence of hurricane clips or straps at the rafter-to-wall connections, the type of shingles (Class 4 rated are significantly better), and whether the roof deck has a secondary water barrier. A pre-hurricane-season professional inspection will give you a definitive assessment.
Are hurricane clips and straps the same thing?
No. Hurricane clips are simpler, single-connection brackets suitable for moderate-wind zones. Hurricane straps wrap around the rafter and connect on both sides of the wall plate, providing significantly greater uplift resistance. Both are far better than no connector at all, and both can be retrofitted to existing homes.
What is the best roof type for hurricane zones?
Standing seam metal roofing with proper fastening and hurricane straps provides the best overall protection, with wind ratings of 140–160 mph. If budget is a constraint, Class 4 impact-rated asphalt shingles with hurricane clips offer excellent protection at a more accessible price point. The shape of the roof matters too. Hip roofs outperform gable roofs significantly.
How much does it cost to hurricane-proof a roof?
Costs vary widely by what you are doing. Installing hurricane clips or straps on an existing roof typically runs $300–$1,500 depending on home size. Upgrading to Class 4 shingles during a planned replacement adds 10–25% to the shingle cost. A full metal roof replacement runs $14,000–$25,000 for an average home. For most homeowners, the most cost-effective path is straps plus Class 4 shingles plus a sealed deck during their next roof replacement.
What should I do if my roof starts leaking during a hurricane?
Do not go on the roof. Move to an interior room away from the leak, place buckets to collect water, and if possible put down plastic sheeting to protect flooring and furniture. Your safety is the only priority during active storm conditions. Address the roof only after the storm has fully passed and a professional has confirmed it is safe to access.
Does homeowners insurance cover hurricane roof damage?
Standard homeowners insurance covers sudden wind and storm damage to roofs, but not pre-existing conditions, flood damage from storm surge, or damage attributed to poor maintenance. Be aware that many coastal policies have a separate hurricane deductible, often 1–5% of the insured home value, which is much higher than the standard deductible. Review your policy before hurricane season.
When is it too late to prepare my roof before a hurricane?
Major work, including hurricane strap installation, material upgrades, and full inspections, needs to be done months before a storm during the off-season. Once a hurricane watch is issued, you are limited to emergency measures: tarps, roofing tape, securing loose items, covering skylights with plywood. The time to prepare is now, not when a storm is in the forecast.
Final Thoughts: Protecting Your Roof Starts Today
Hurricane roof protection is not a single action. It is a combination of structural reinforcement, smart material choices, consistent maintenance, and advance planning. The homeowners who come through major storms with minimal damage are not the lucky ones; they are the prepared ones.
- Install hurricane clips or straps if your home does not have them
- Upgrade to impact-rated materials when your roof is next replaced
- Inspect and seal all penetrations before hurricane season, and follow a roof maintenance plan year-round
- Know your insurance deductible before a storm is in the forecast
- Document everything annually as your baseline
Your roof is the first line of defense your home has. Treat it like the critical structure it is, and it will protect you when it matters most.
The best time to schedule a professional roof inspection for hurricane readiness is between February and April, before hurricane season begins in June and before roofing contractors’ schedules fill up. An inspection now gives you time to complete any necessary repairs before the first storm of the season. Contact us to schedule yours today.